Account Settings
The Account Settings section allows you to view and manage important account details, subscription settings, and user permissions. Here’s a breakdown of the key sub-sections available under Account Settings:
- My Profile
- Users
- System Subscriptions
- Total Usage Costs
My Profile
The “My Profile” section includes basic information about your ValidRecord account:
- General
- Payment Settings
- Billing Activity
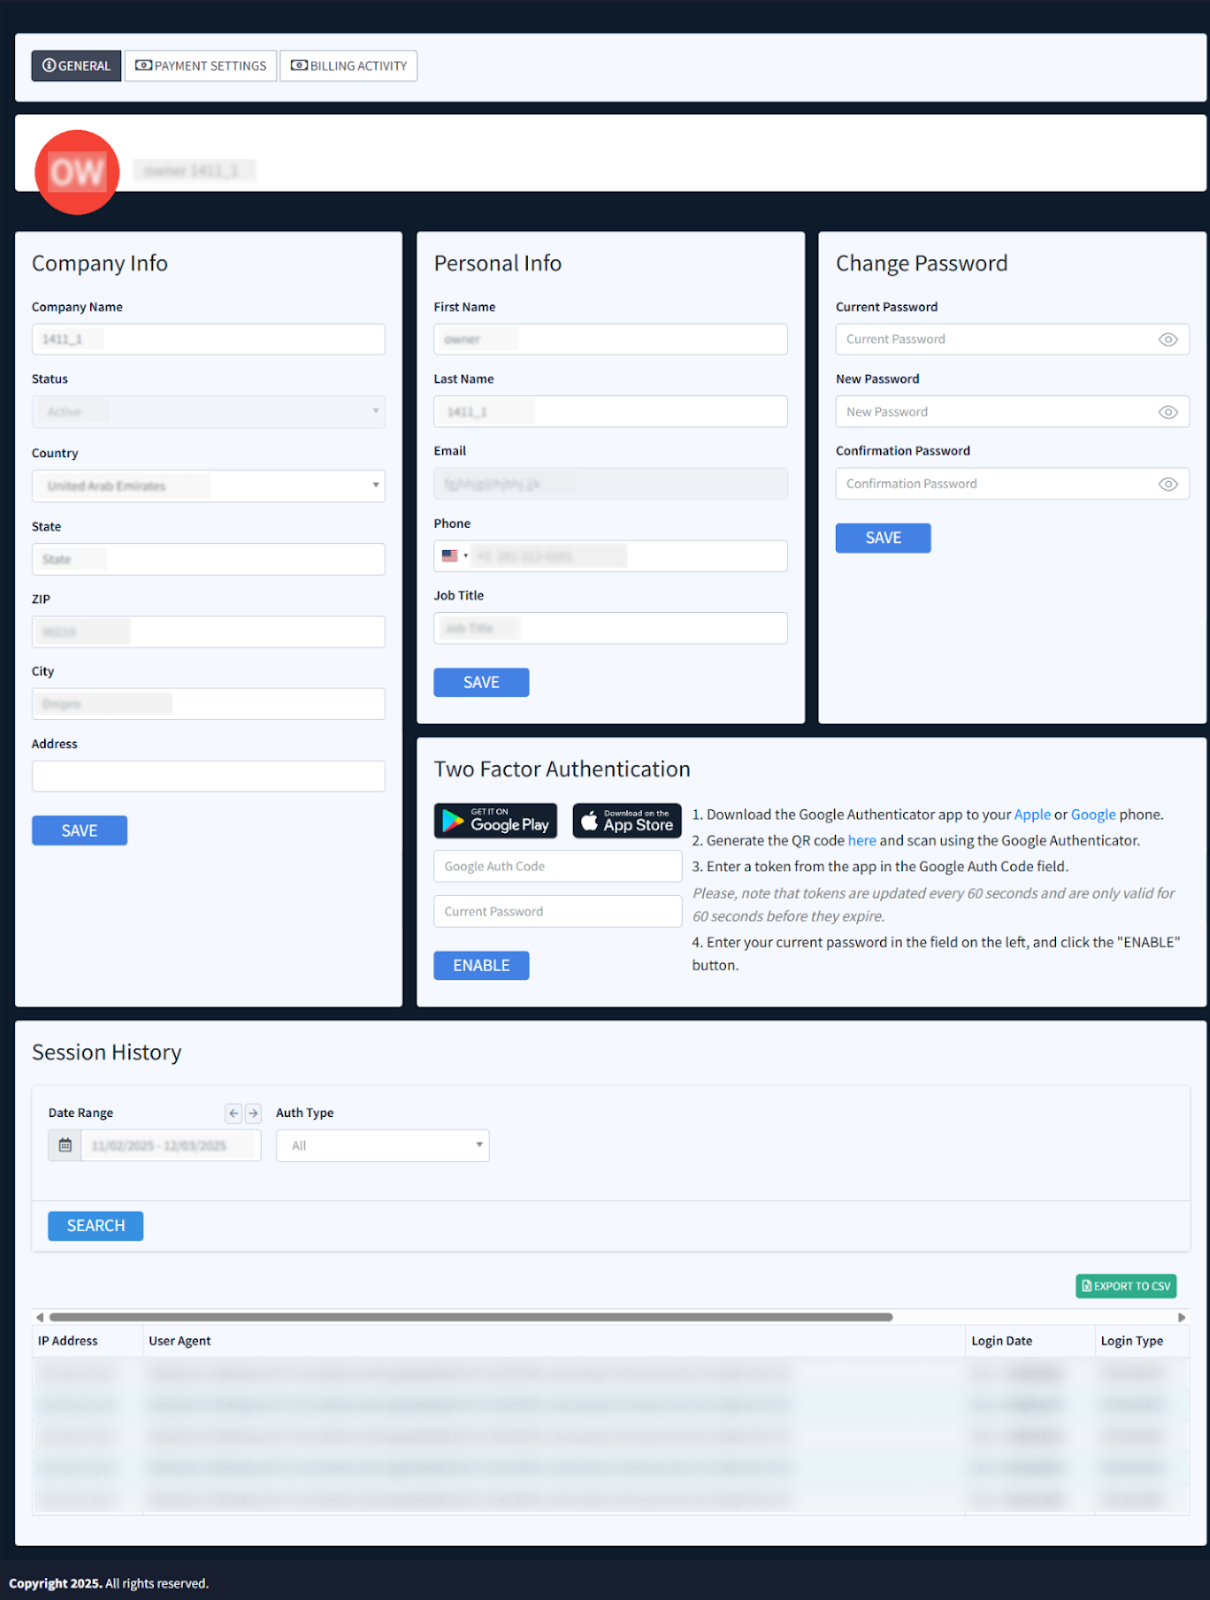
The “General” tab information is separated into five blocks:
- Company Info: The general information about your company. Note: The account owner should fill in the company information manually once the account is created. The system retrieves the first and last names from the registration form. Only the account owner can make changes in this block, but users can still view the company information.
- Personal Info: The general information about your profile in the system.
- Change Password: This block allows you to change your current password and configure complexity requirements to enhance security.
- Two Factor Authentication: This block allows you to enhance the security of your account by adding an additional layer of protection, such as a code generated by the Google Authenticator app when signing in.
Session History: This block allows you to view the information about all log-ins to your account, including timestamps, user agent information, and IP addresses. Using this information, you can monitor and detect any suspicious activity on your account.
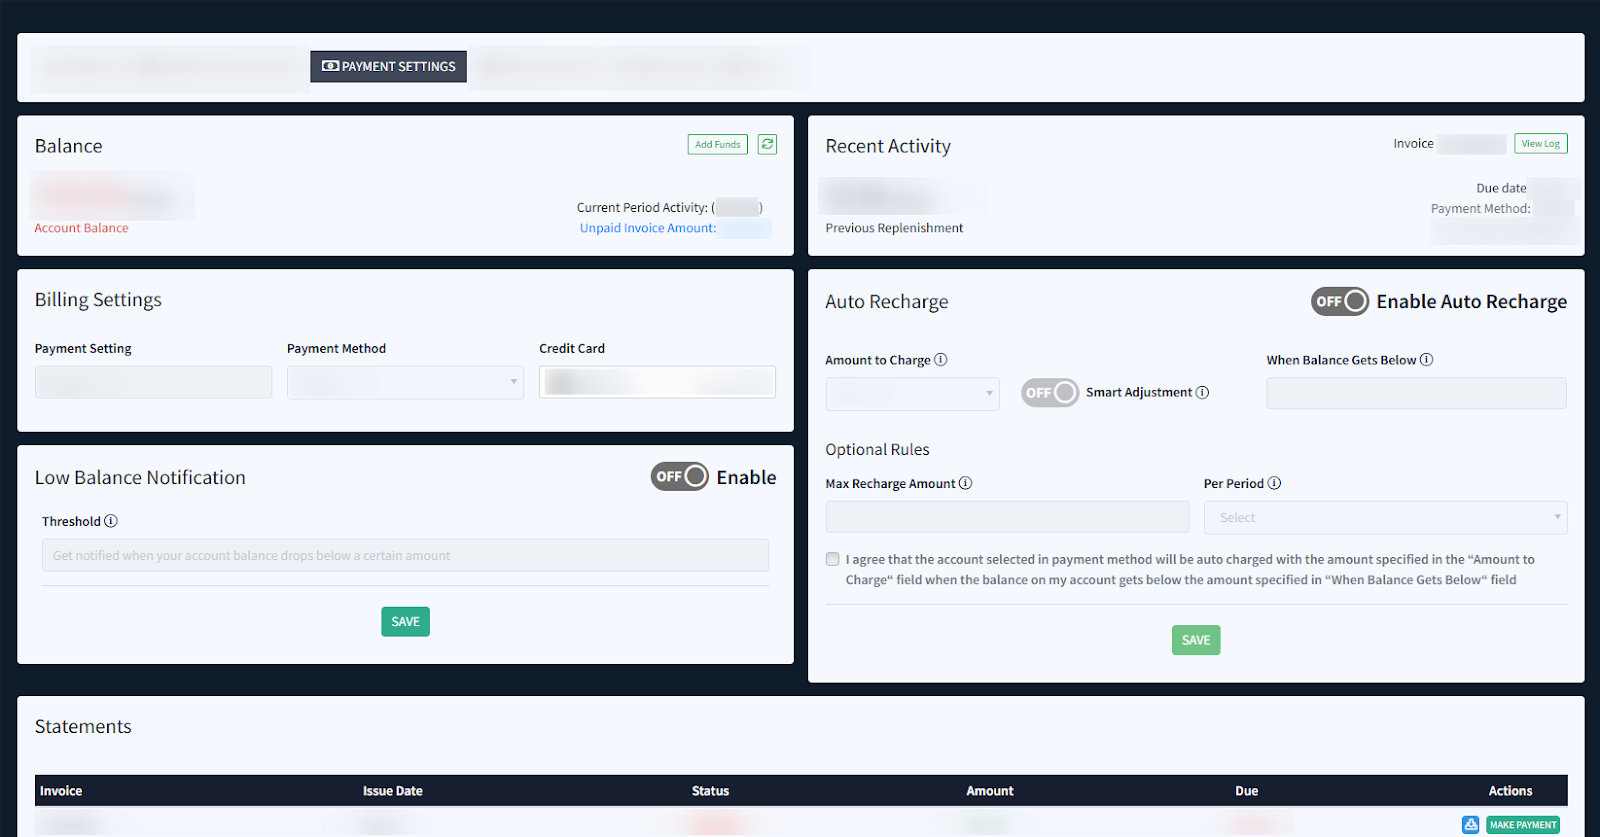
The “Payment Settings” tab contains information about the current balance, recent payment activities, settings for the auto recharge options, billing information about the linked payment method, and a history of the processed transactions.
The “Balance” widget displays the information about the current balance available on the account.
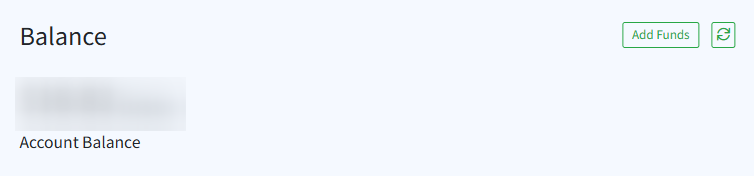
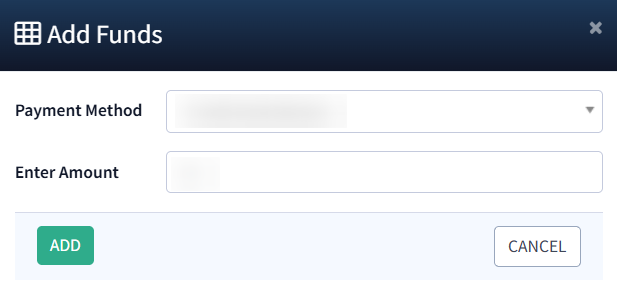
To create the add funds transaction, click the “Add Funds” button, and fill in the following fields in the “Add Funds” pop-up window:
- Payment Method: Select the payment method for the add funds processing.
- Enter Amount: Enter the amount that you would like to add to the account.
Click the “Add” button to perform the operation.
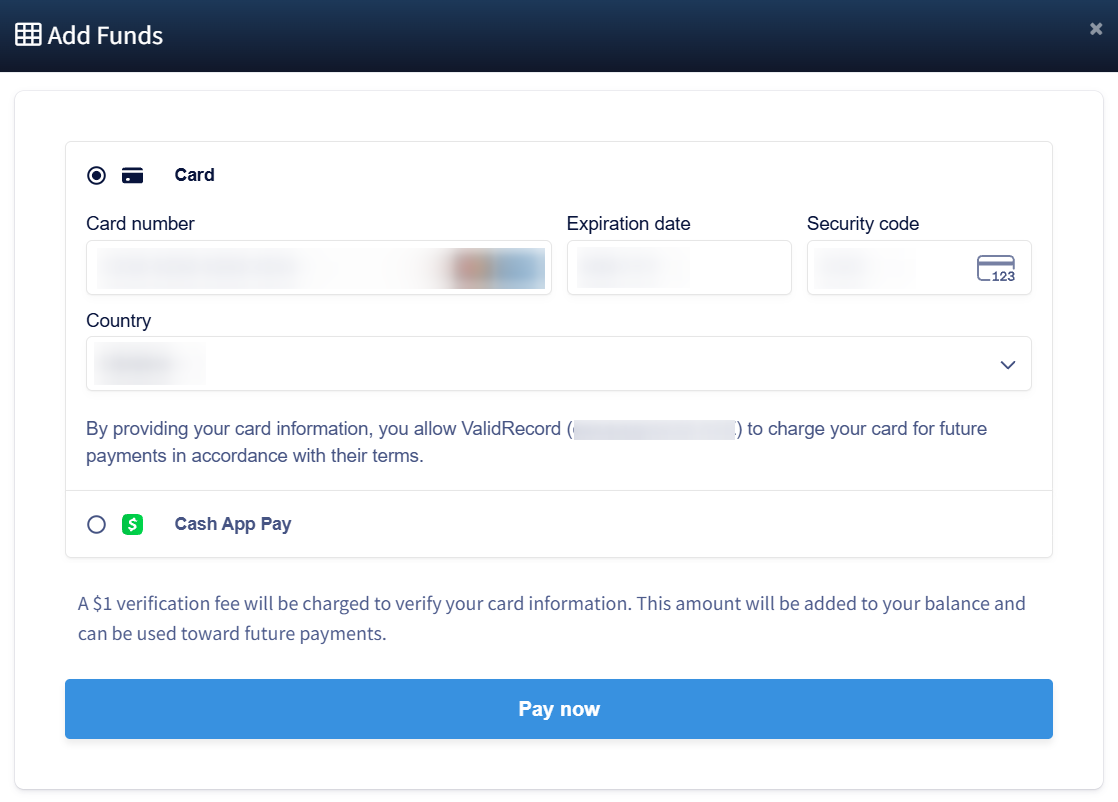
An additional pop-up will be displayed where you need to input your credit card information and follow the instructions. As soon as all details are entered, click the “Pay now” button to complete the payment transaction.
After processing the payment transaction, the “Balance” value will be increased correspondingly, and the latest transaction will be displayed in the “Recent Activity” widget.
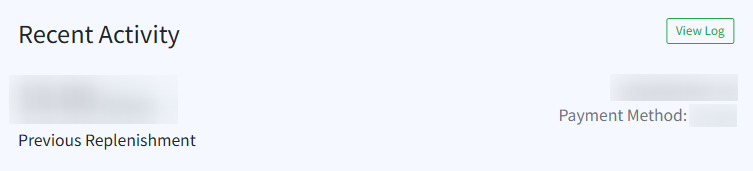
The “Recent Activity” widget displays information about the latest processed transaction, such as transaction amount, date of its processing, and the used payment method.
To view the information about processed transactions, click the “View Log” button. You will be redirected to the “Billing Settings” tab.
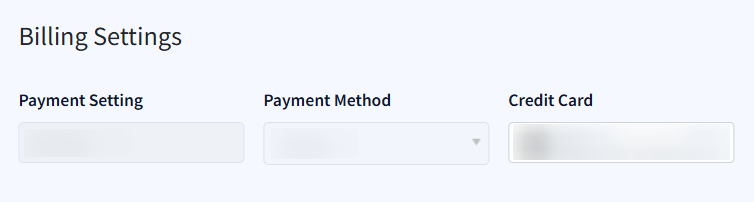
The “Billing Settings” widget displayed information about the current settings for the billing and payment options.
The following information is available:
- Payment Setting: The name of the applied payment setting.
- Payment Method: The name of the selected payment method used to process the payment. This identifies the payment processing system handling the transaction.
- Credit Card: The information about the linked credit card.
Note: Only the user with the “Account Owner” system role can manage the credit card information.
To change the credit card information, this user clicks the “Edit Card” field and fills in the information about the credit card that he would like to update in the “Edit Card” pop-up window.
Note: It is necessary to check the box with the terms and conditions in the widget to continue to payment.

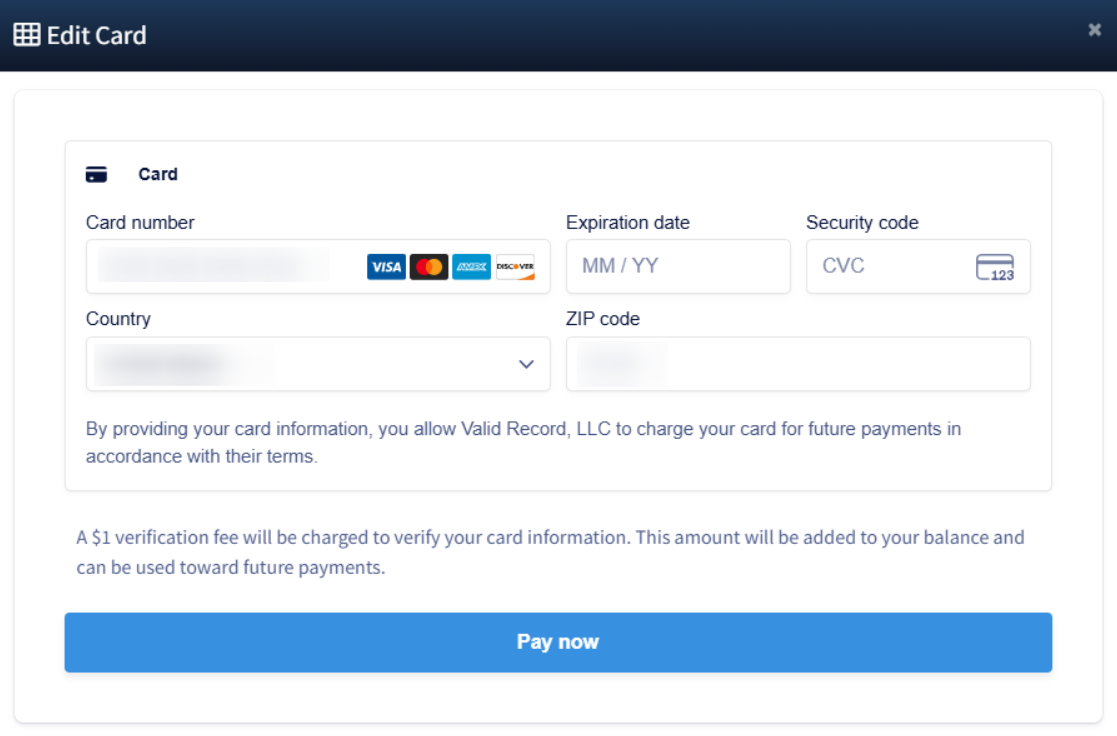
The payment for 1 USD will be processed afterwards, and if it is successful, the credit card details will be updated.
The “Auto Recharge” widget contains information about settings for the auto-recharge option.
The following settings are available:
- Amount to Charge: Select the amount for auto-recharge payment ($100, $250, $500, $750, $1000, $5000).
- Smart Adjustment: Switch the toggle to automatically adjust your auto-recharge amount based on usage patterns. Note: If the same recharge amount is triggered more than three times in seven days, the system will increase it to the next level.
- When Balance Gets Below: Enter the amount that will initiate the auto-charging process when equal to the Current Balance value. Note: We recommend setting the “When balance gets below” amount to at least 10% of the recharge amount to avoid service interruption.
The Optional Rules block contains the following settings:
- Max Recharge Amount: Enter the amount of maximum limitation for the add funds operation.
- Per Period: Select the period for the auto-recharge processing (Daily, Weekly, Monthly).
Check the box with the terms and conditions agreement of the auto-charge usage, and click the “Save” button to complete the settings.

Note: If you modify the “Max Recharge Amount”, any recharges that have occurred within the currently selected “Per Period” will be cleared, and the newly set limit will be applied starting from that point. Additionally, this information will be displayed in the confirmation pop-up window below.
The “Low Balance Notification” widget allows you to set a threshold and receive alerts when your balance falls below that amount.
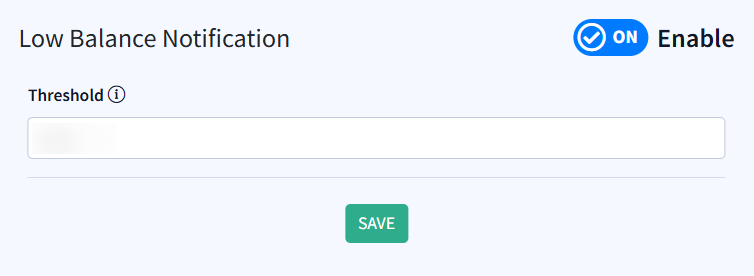
To enable/disable the low balance notifications, switch the “Enable” toggle to ‘ON’/’OFF’ position.
Enter the threshold value to get notified when your balance drops below. Click the “Save” button to finish.
Depending on the payment model of the account, the “Statements” (for Pre-Pay model) or “Invoices” (for Post-Pay model) block displays below. It shows the information about all transactions that were processed for this user, along with the possibility to download corresponding invoices.
The following information about processed transactions is available:
- Invoice: The unique identification number of the invoice.
- Issue date: The date when the invoice was issued.
- Status: The ongoing status of the invoice.
- Amount: The amount on which the invoice was issued.
- Due: The due date for payment on the invoice.
To download the PDF file with the particular invoice or statement, select the one from the list and click the “Download” button in the “Actions” column. The corresponding invoice will be opened in a new tab of the browser.
The “Billing Activity” tab allows you to view the report information about billing log records grouped by a particular date and transaction type.
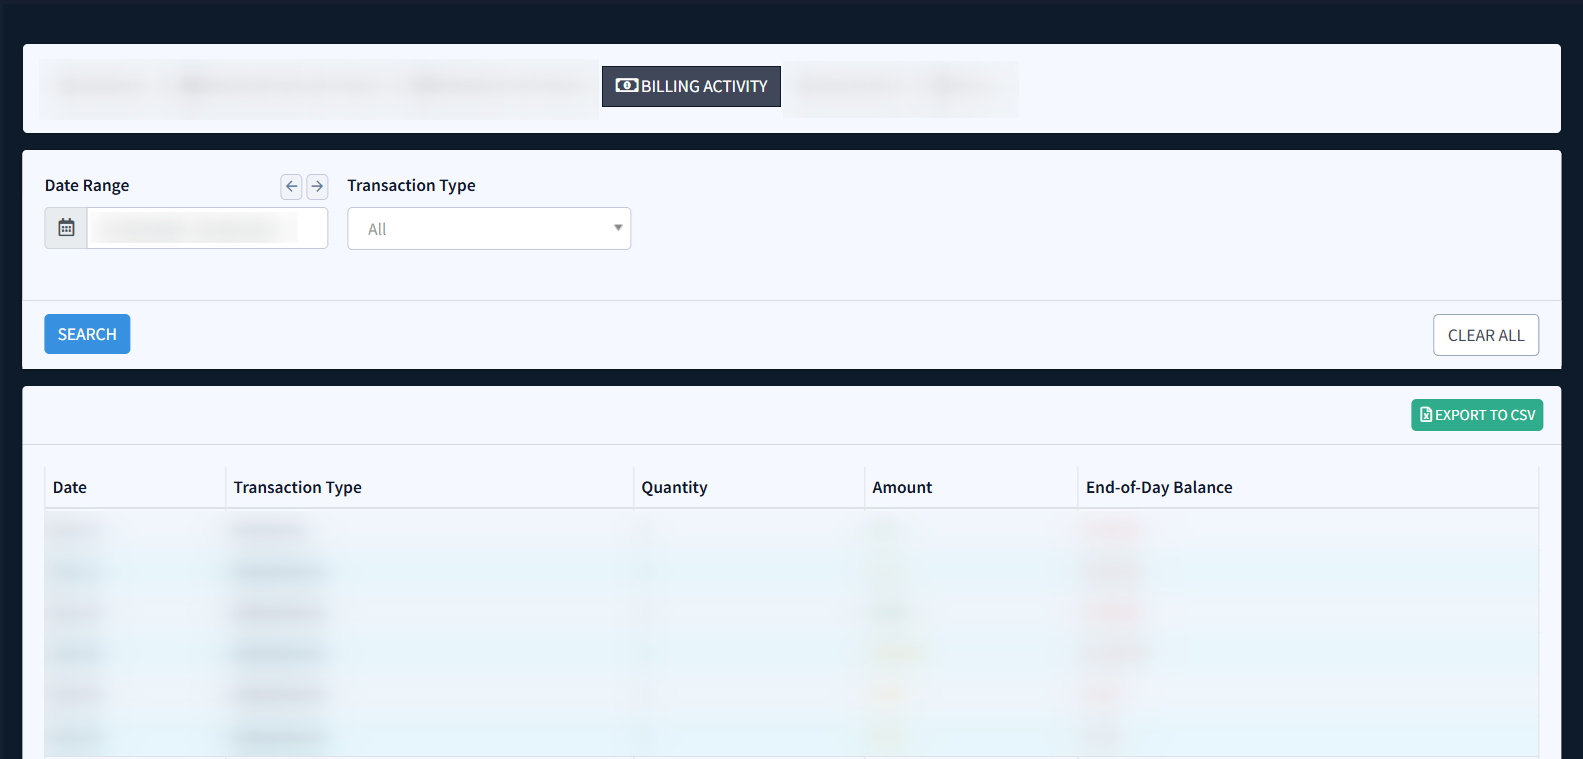
You can narrow down the search results by using the following filters:
- Date Range: Select the date range of the report.
- Transaction Type: Select the type of processed transaction (Charges, Adjustments, Payments).
The report with the billing activity log contains the following information:
- Date: The particular date.
- Transaction Type: The type of the processed transaction.
- Quantity: The total number of transactions processed for the particular date.
- Amount: The total amount that considers all processed transactions for the particular date.
- End-of-Day Balance: The amount of balance at the end of the day.
Users
The Users tab allows the account owner to manage users with access to your ValidRecord account. Other users can only view the information on this page. In this section, you can view a list of users associated with your account, search for specific users by name, email, or status, and review the status of each user (active or disabled).
This is helpful for administrators who need to control who has access to the platform and ensure that only authorized personnel are using the service.
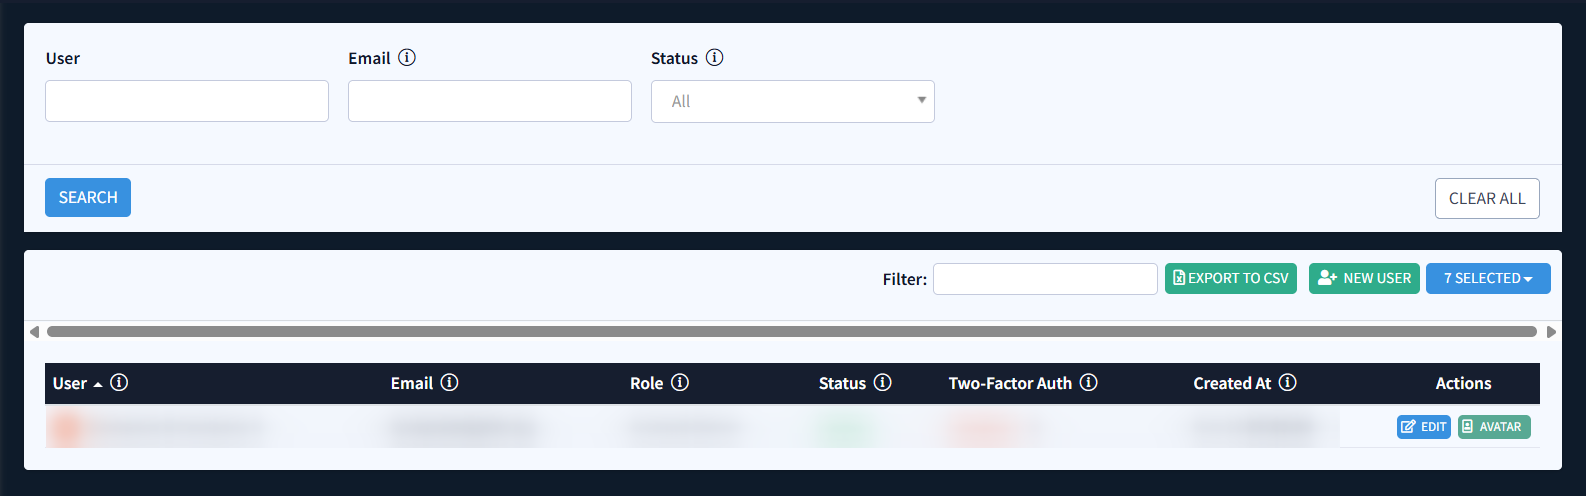
How to Use the Users Tab
- Search: You can filter and search by Name, Email, and Status to easily find specific users within your account.
- User List: The table below the search bar shows all the users, including their names, email addresses, roles, statuses, 2FA status, and dates of creation. Here you can quickly check the current status of each user.
System Subscriptions
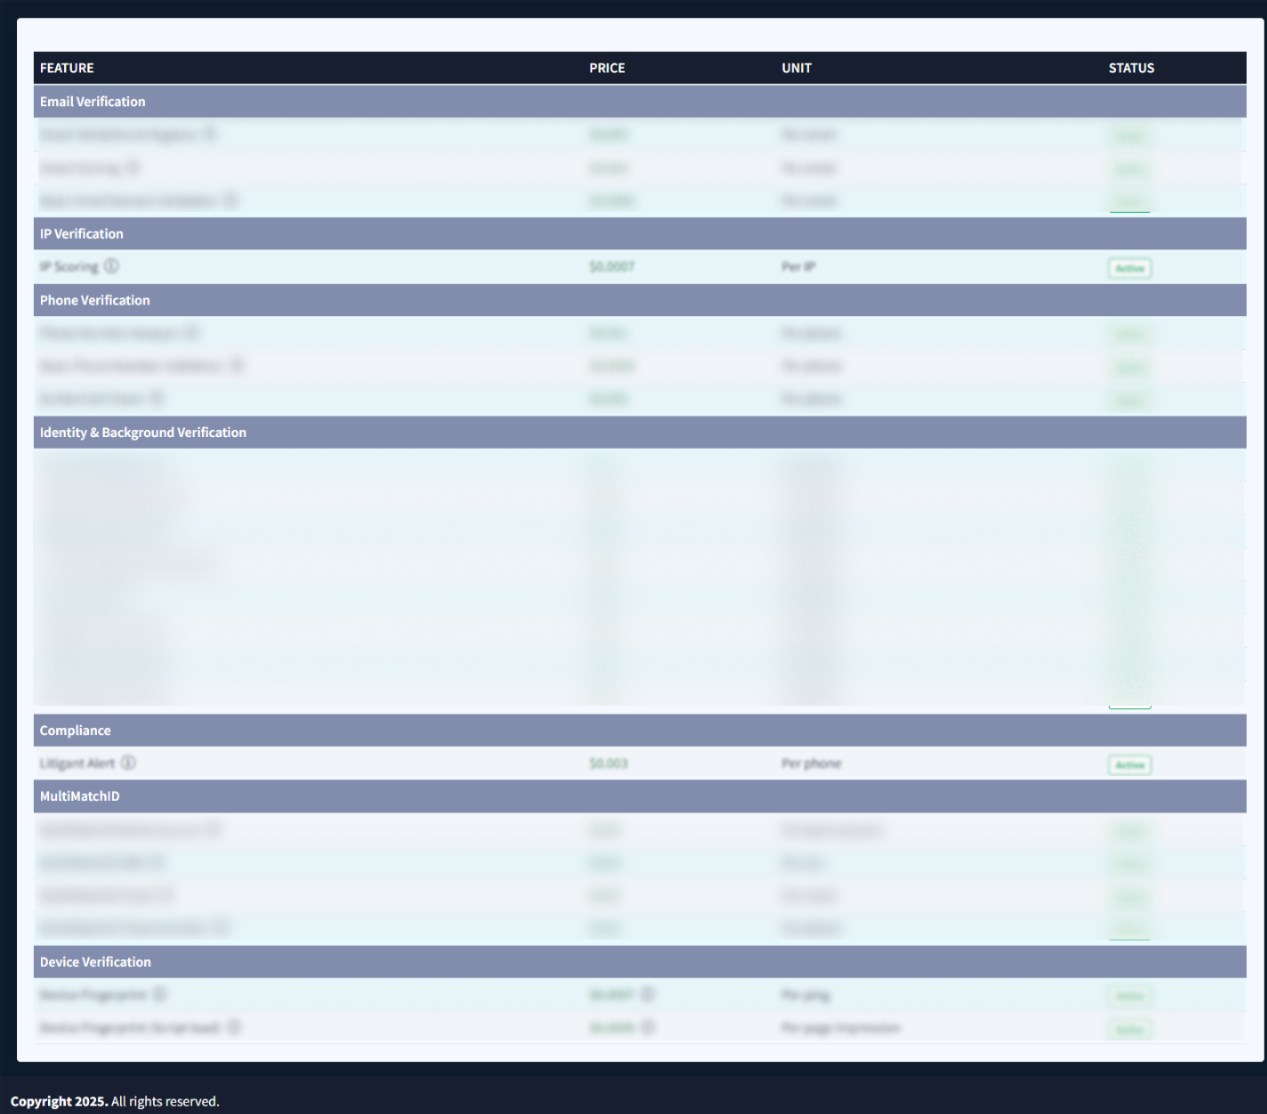
The System Subscriptions section within the Account Settings provides a detailed breakdown of the features included in your current subscription, along with their pricing and status. This allows you to manage and track which features are active and how they contribute to your usage costs.
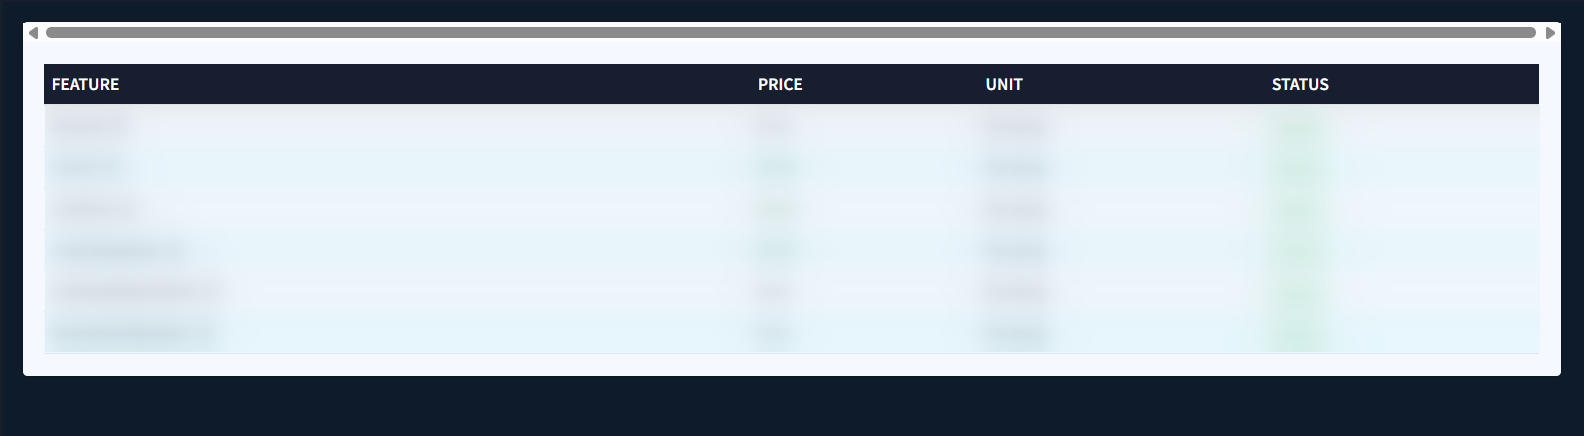
In this section, you’ll see a list of features that are part of your current plan. Here’s a breakdown of what each column represents:
- Feature: This column lists the available services you have access to depending on the product: iClaim/iClear.
- Price: The cost of each feature, which is typically billed per “ping” (a single usage of the feature).
- Unit: Shows the unit for measuring usage.
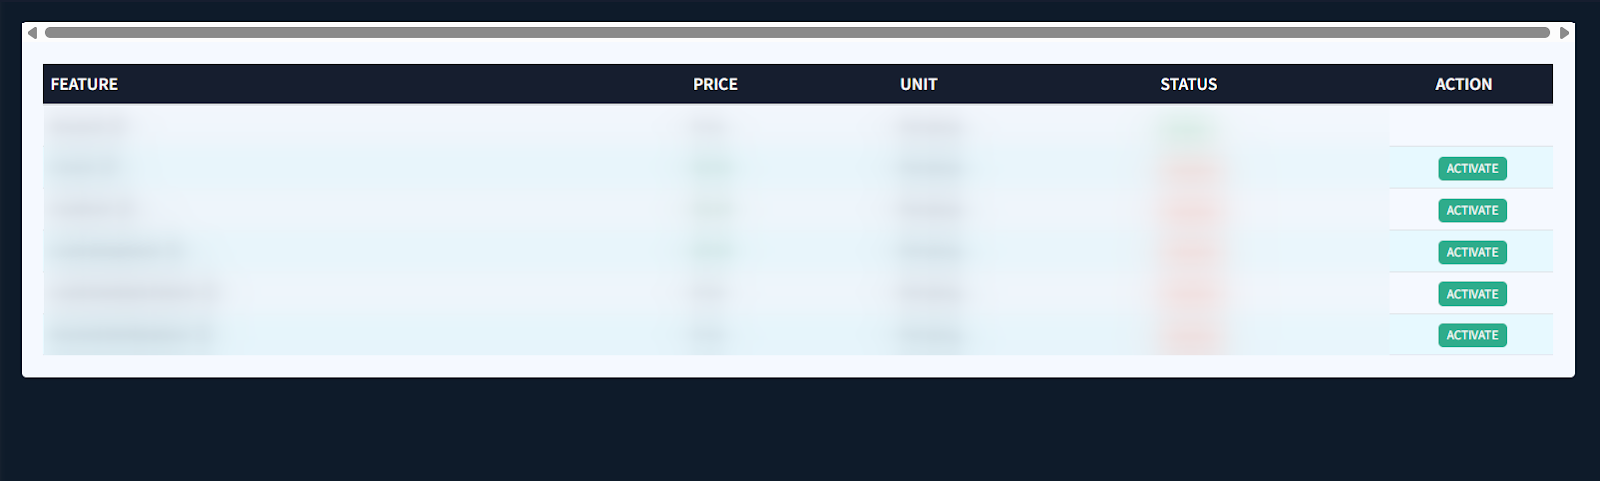
- Status: This indicates whether the feature is currently active in your subscription.
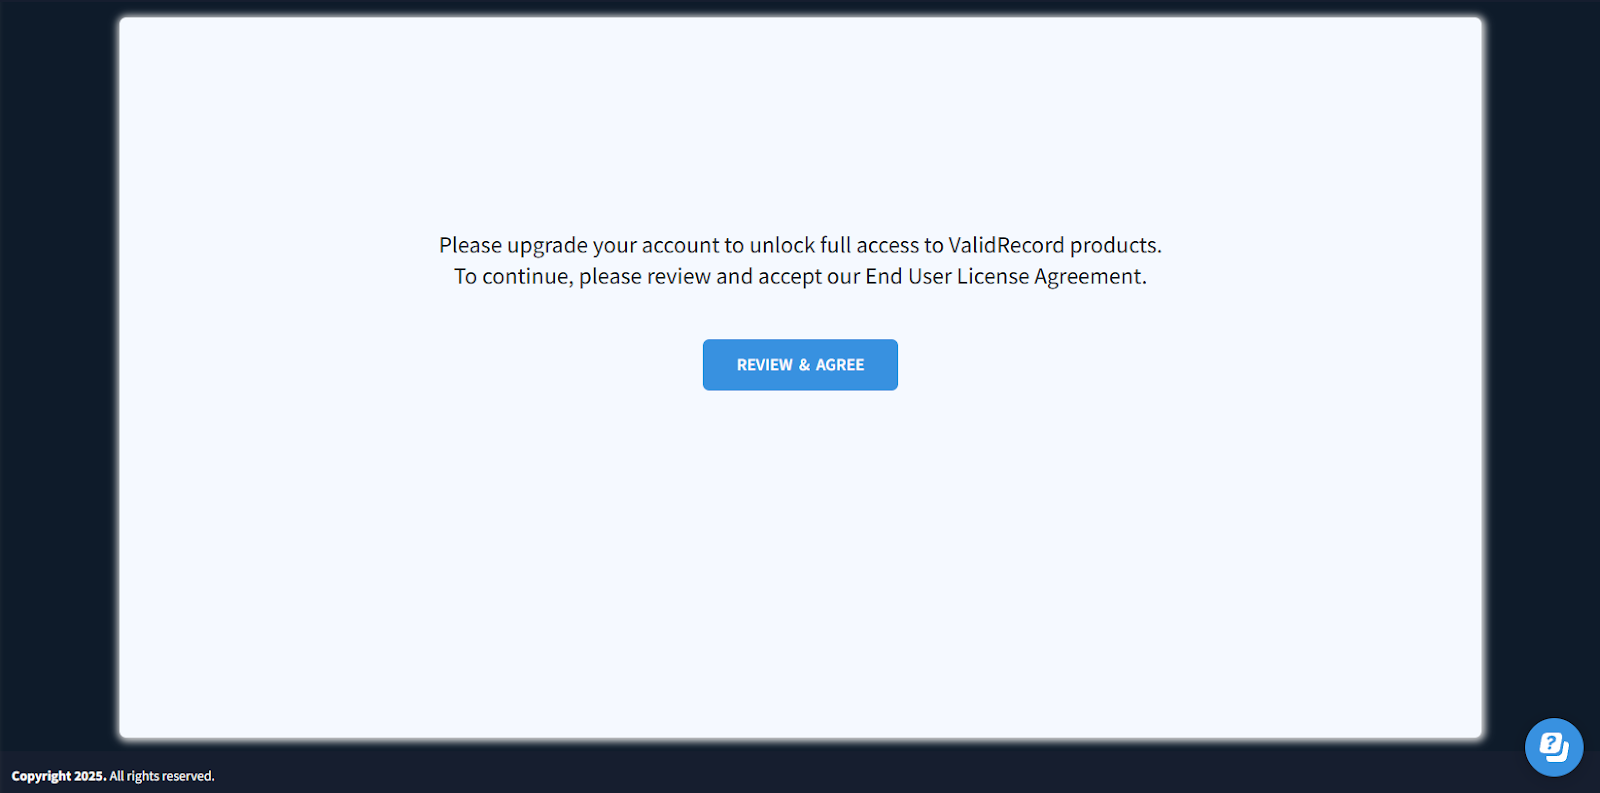
To enable the service, click the “Activate” button in the “Actions” column.
The system will redirect you to the Account Upgrade page and offer you the option to review and sign the EULA. Click the “Review and Agree” button to complete the remaining steps to upgrade your account and unlock full access to ValidRecord products.
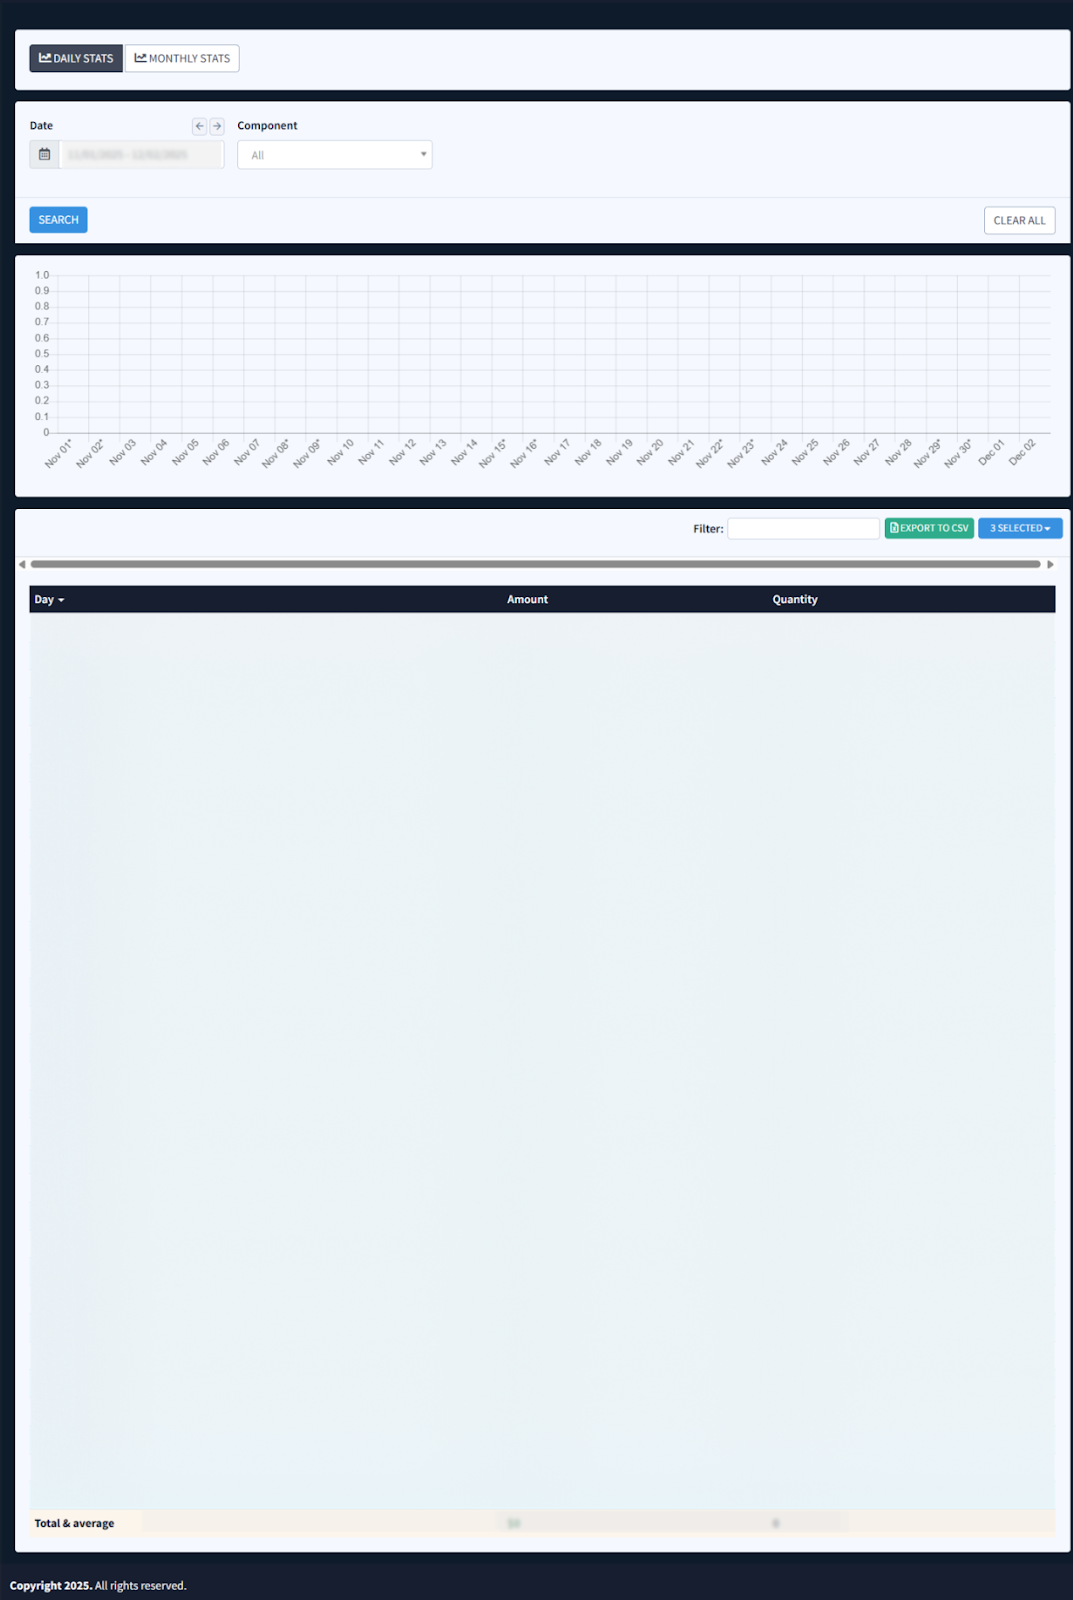
Total Usage Costs
The Total Usage Costs section provides a visual and tabular view of your account’s activity over a selected time period. Note: This section is available only for paid accounts.
You can narrow down the search results using the following filters:
- Period: Select the time range.
- Component: Select the component (iClaim, iClear).
The graph provides a comprehensive overview of how much you’re spending on iClaim/iClear services over time. It helps you keep track of your expenses and ensures you stay within your budget.
The tabular part contains the following information:
- Month: The name of the month.
- Amount: The amount spent on the services.
- Quantity: The number of times any services were triggered.
The “Total & average” row at the bottom of the table shows the summary number for each column.