Getting Started with ValidRecord
Welcome to ValidRecord – a platform designed to help you validate, verify, and manage user data seamlessly using our products iClaim and iClear. This article is your step-by-step guide to setting up your account, exploring the platform, and getting started with our services.
Step-by-Step Sign-Up Process
To start using ValidRecord, you’ll need to create an account for your company. To do so,
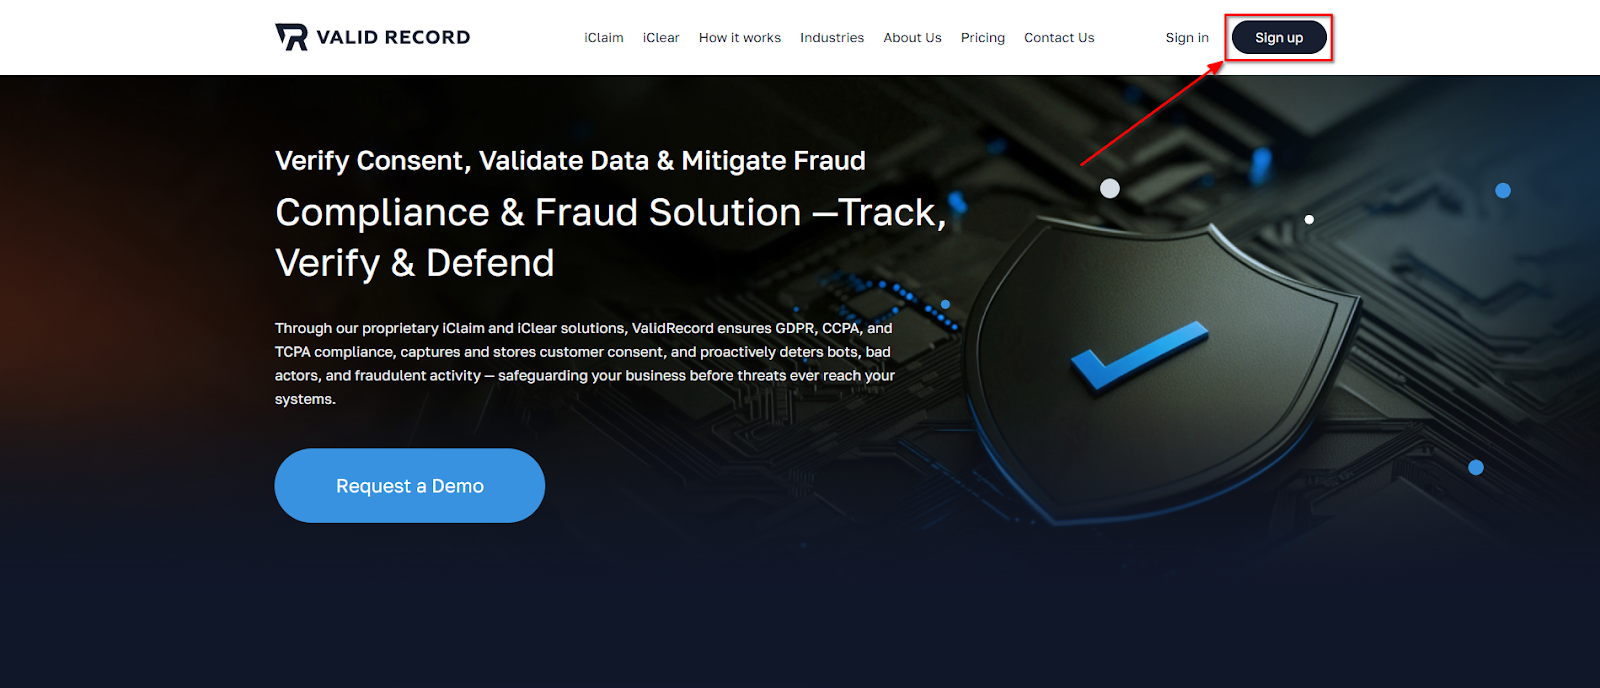
- Visit the https://validrecord.com/ website and click the “Sign Up” button.
- Fill in the required information in the form and check the “I accept the Terms & Conditions and Privacy Policy” box.
- Verify your email as prompted. Once the code is verified, the account will be automatically created, and you will be redirected to your account.
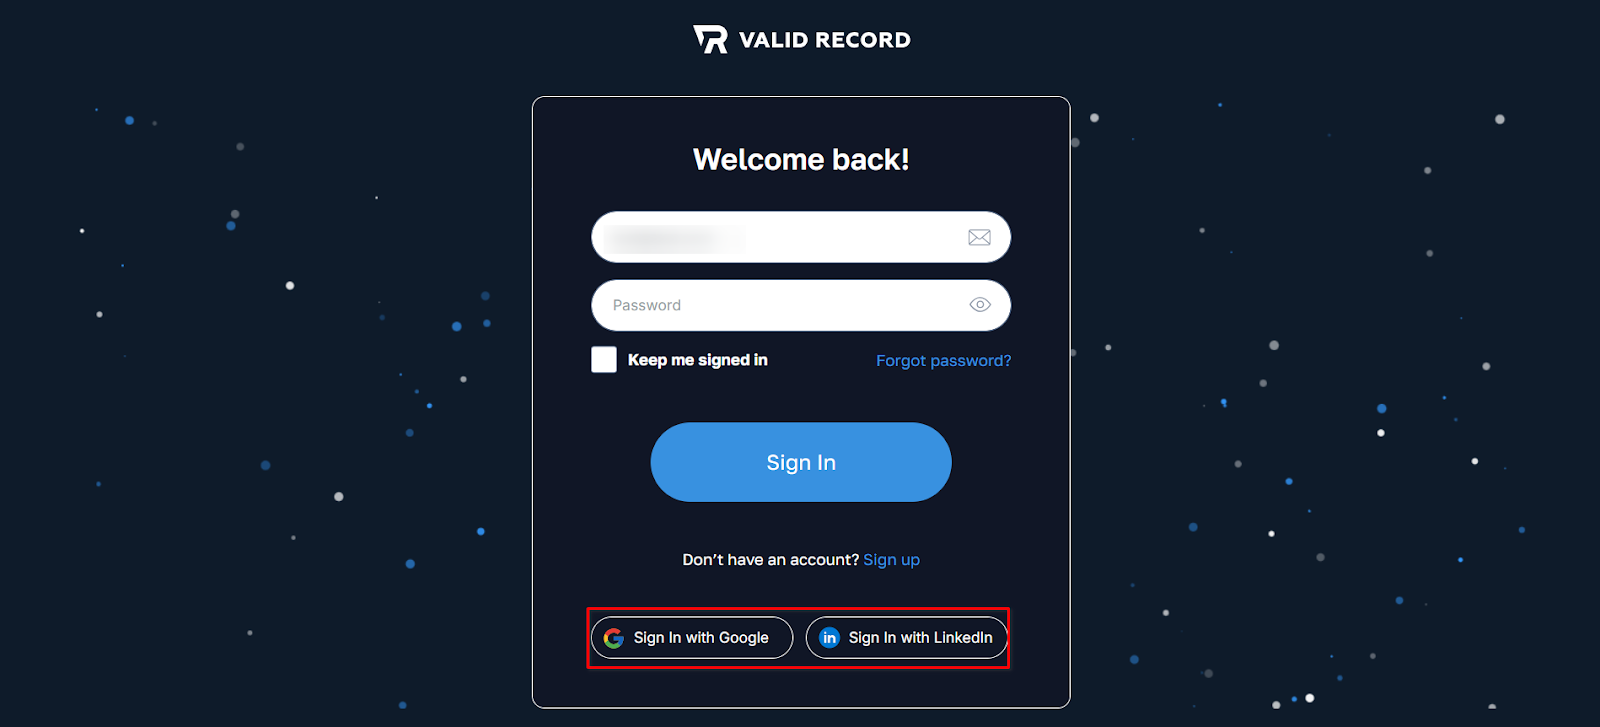
For future access, click the Sign In button on the homepage and log in with your credentials.
Note: For a quicker and simpler process, you have the option to sign in or sign up using your Google or LinkedIn account.
Account Setup
Explore the Dashboard
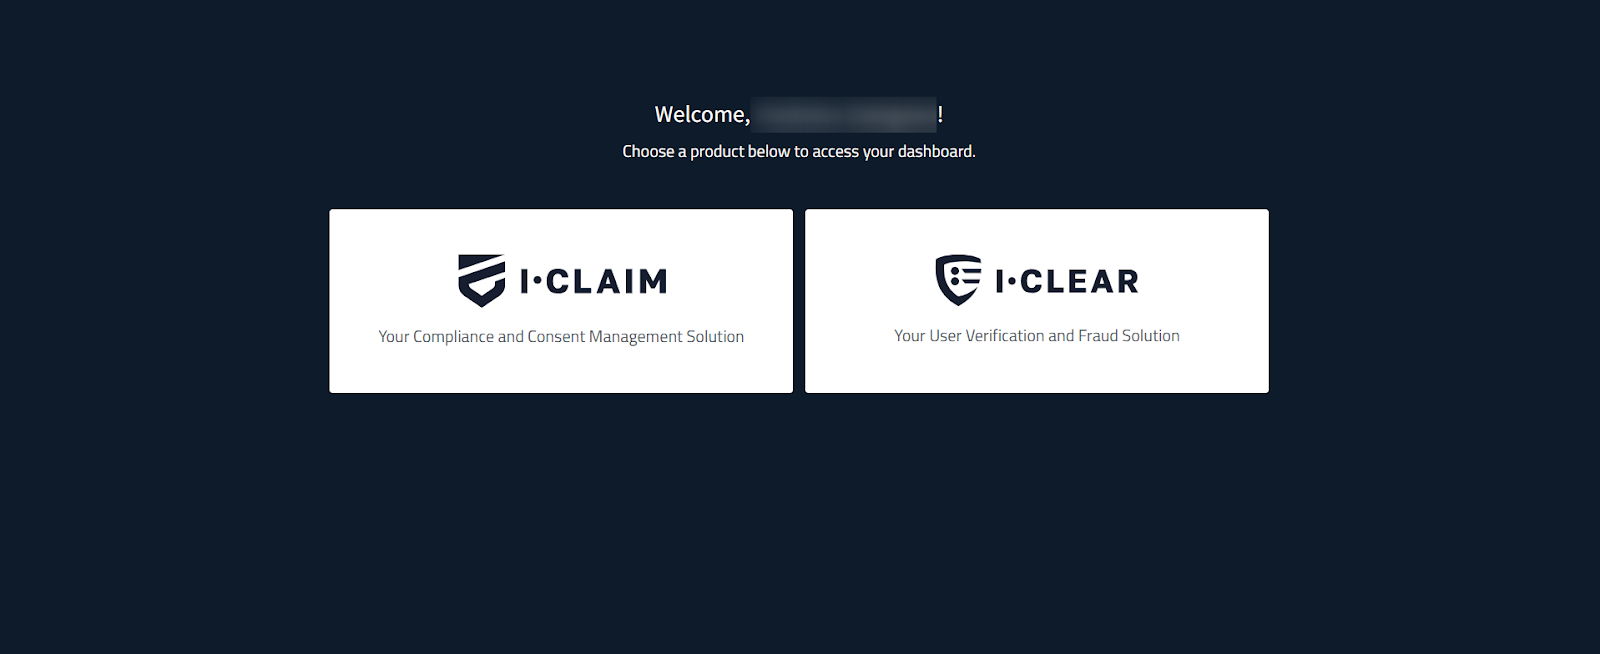
After signing in, you’ll land on your Welcome Page. From here, you can choose one of the two main products:
- iClaim – use iClaim to capture and store visitor interactions on web forms, by generating verifiable compliance records for web applications — ensuring compliance with legal standards like TCPA while delivering critical insights into lead authenticity and consent.
- iClear – use iClear to validate, verify, and enrich user data in real time by verifying identities, emails, scoring IP risk, and more. It blocks known fraud rings and stops identity theft at the point of application to eliminate fraud losses before they reach or impact your business.
Company Profile
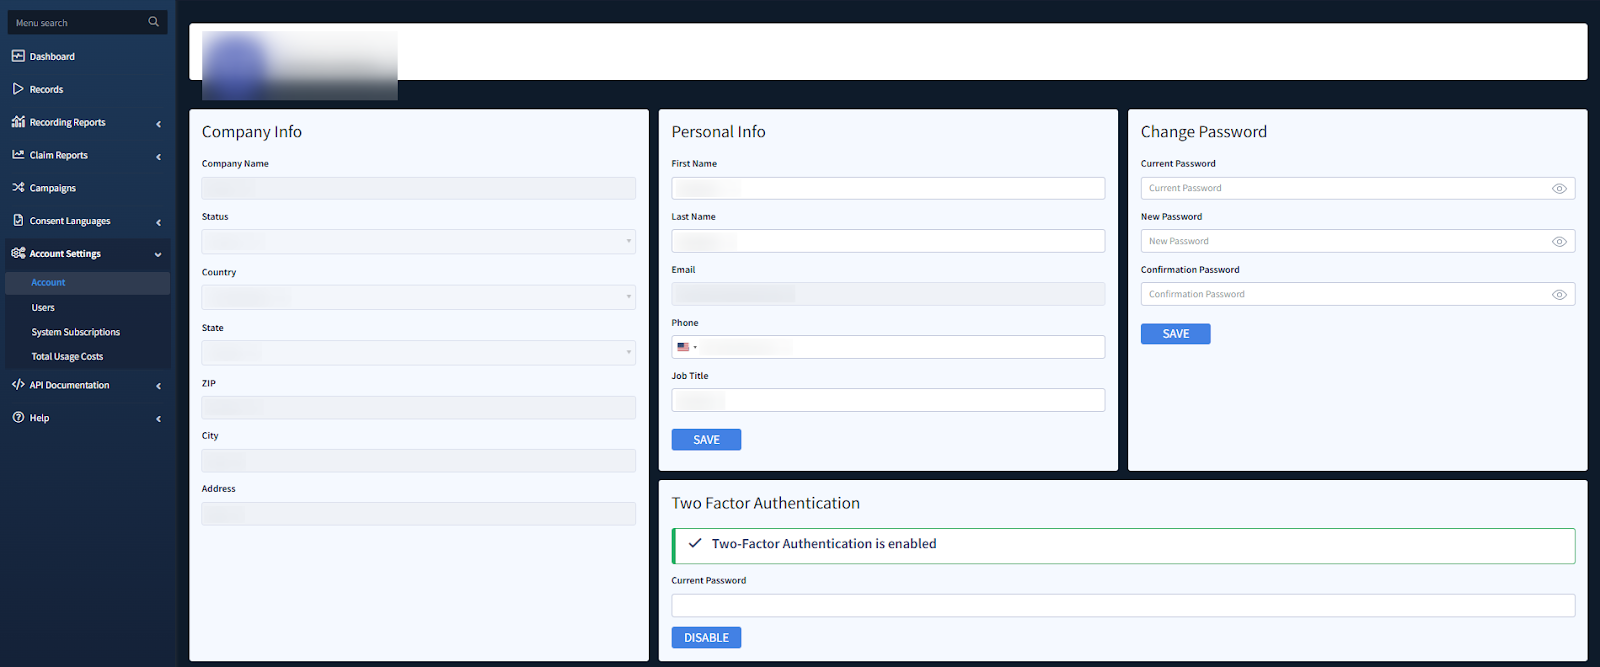
After creating your ValidRecord account, the first step is to set up your company profile to ensure that all information is accurate. To begin setting up your company information, select any component from the welcome dashboard, then navigate to Account Settings > Account from the left-hand menu. Complete the form by entering the following details:
- Company Name: Enter your official company name.
- Status: The current status of your account. Note: You can not edit the status of your account. To disable your account, contact your manager or Support.
- Country: Select the country where your company is located.
- State: Choose the state where your company is located.
- ZIP: Enter the ZIP code where your company is located.
- City: Enter the name of the city where your company is located.
- Address: Enter the address where your company is located.
Once all fields are filled, click the “SAVE” button at the bottom of the form. Your company profile will be updated and ready for use in Valdi Record.
Account Settings & Security
Inside Account Settings, you can:
- Manage Your Profile: Update your personal details, including name, email, phone number, and job title.
- Strengthen Security: Change your password and enable Two-Factor Authentication (2FA) – we strongly recommend enabling 2FA for added protection.
- Track Billing & Usage: Monitor your account balance, review recent activity, manage payment methods, set up auto-recharge, and view billing activity for complete transparency.
- Track Usage Costs: Monitor your daily and monthly usage statistics and view detailed spending history.
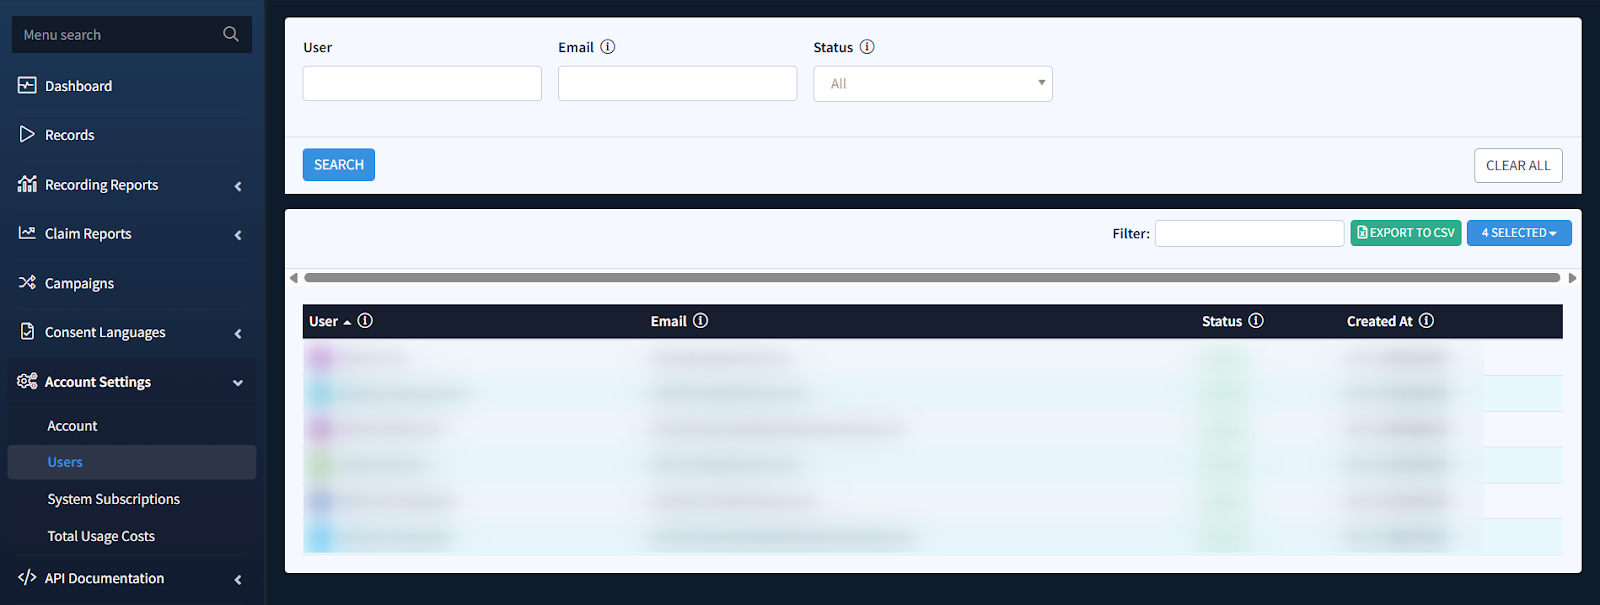
Managing Users
After setting up your company profile, the next step is to manage users within your ValidRecord account. This feature allows you to add team members, assign roles, control access permissions, and edit or deactivate users as needed.
To access user information, navigate to Account Settings > Users.
iClaim Quick Start
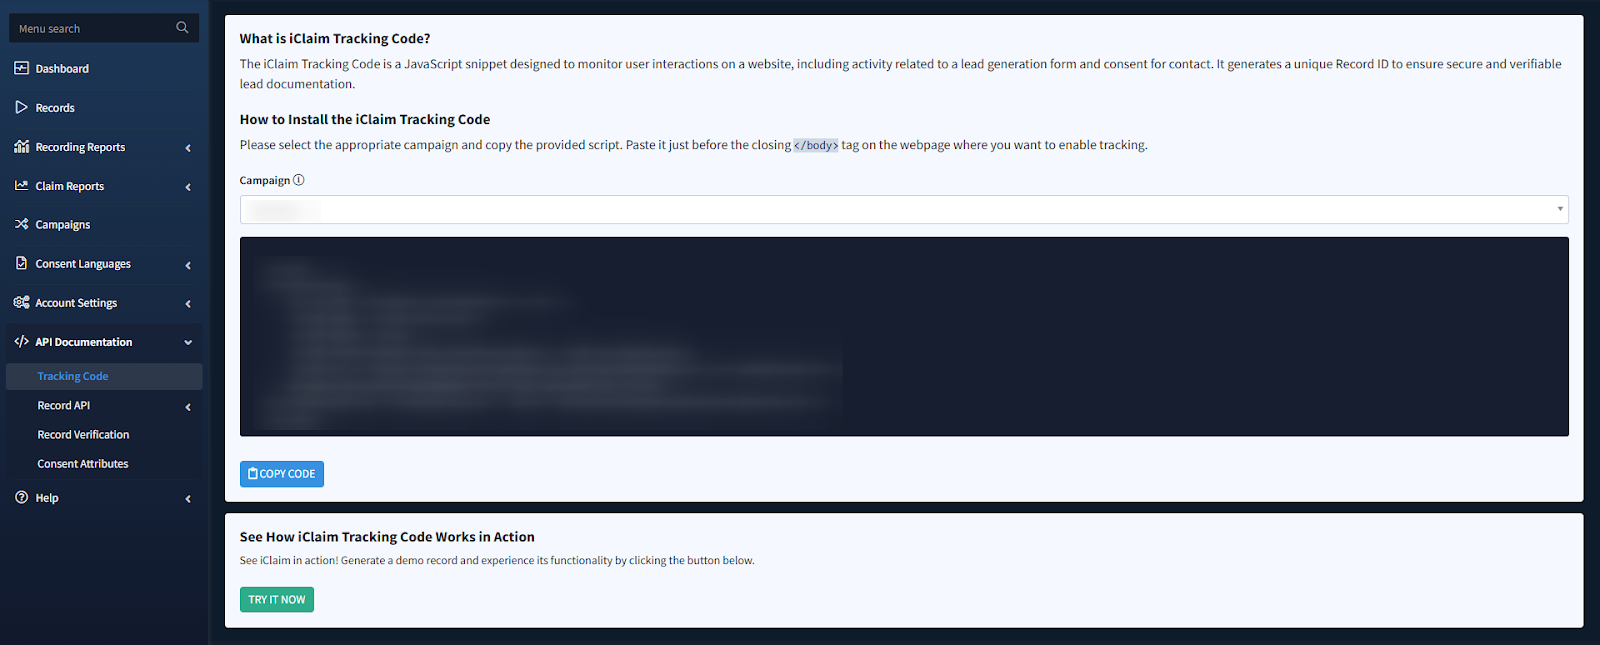
iClaim is designed to capture and store visitor interactions on your websites, converting these interactions into lead events by generating shareable records along with session recordings and insights into lead authenticity. Note: A tracking code is required to track interactions and generate session recordings.
Follow these steps to get started:
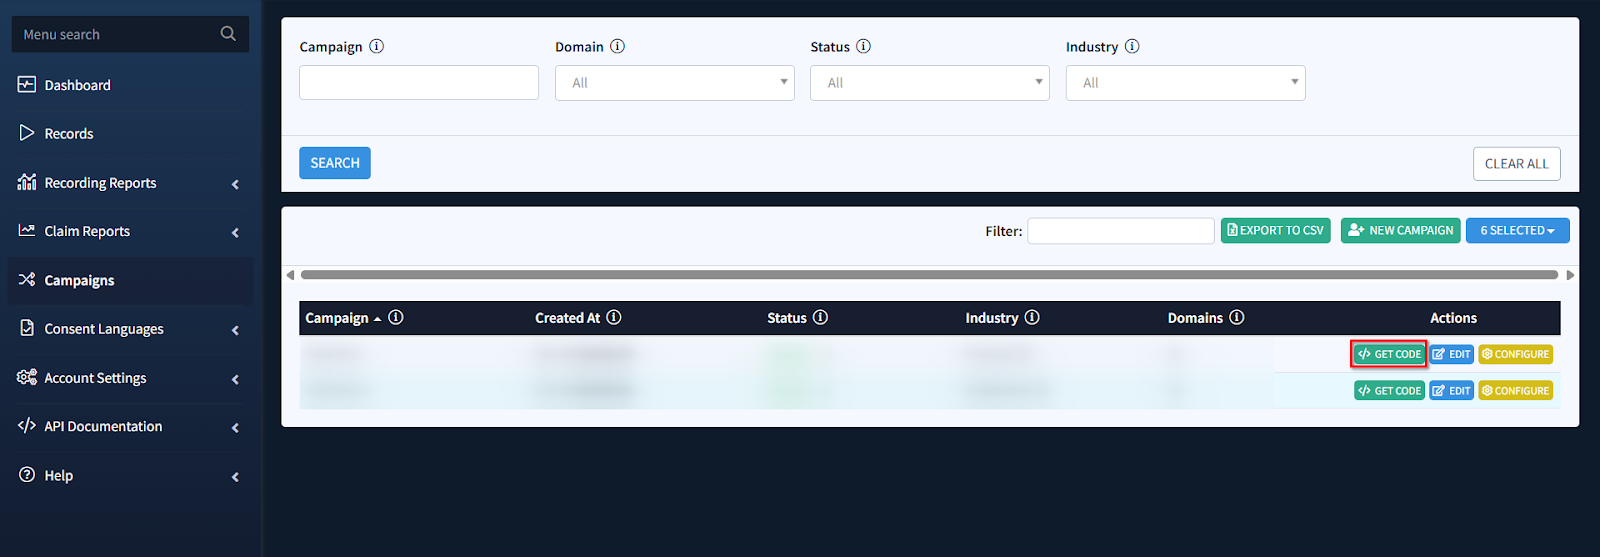
- Create a Campaign: First, you need to create a campaign. To do this, navigate to Campaigns > New Campaign to generate your first tracking code tied to the campaign.
Tip: A campaign represents a unique tracking code (JavaScript snippet) that helps identify and track interactions on specific websites.

Learn more about the Campaigns in the Knowledge Base article.
- Install the Tracking Code: Once the campaign is created, copy the code by clicking the “</> GET CODE” button in the Actions column. Then, paste the generated script just before the closing </body> tag on the website where you want to enable tracking. This will activate visitor tracking on your website.
Tip: You can also view your iClaim Tracking Code in the iClaim > API Documentation > Tracking Code section.
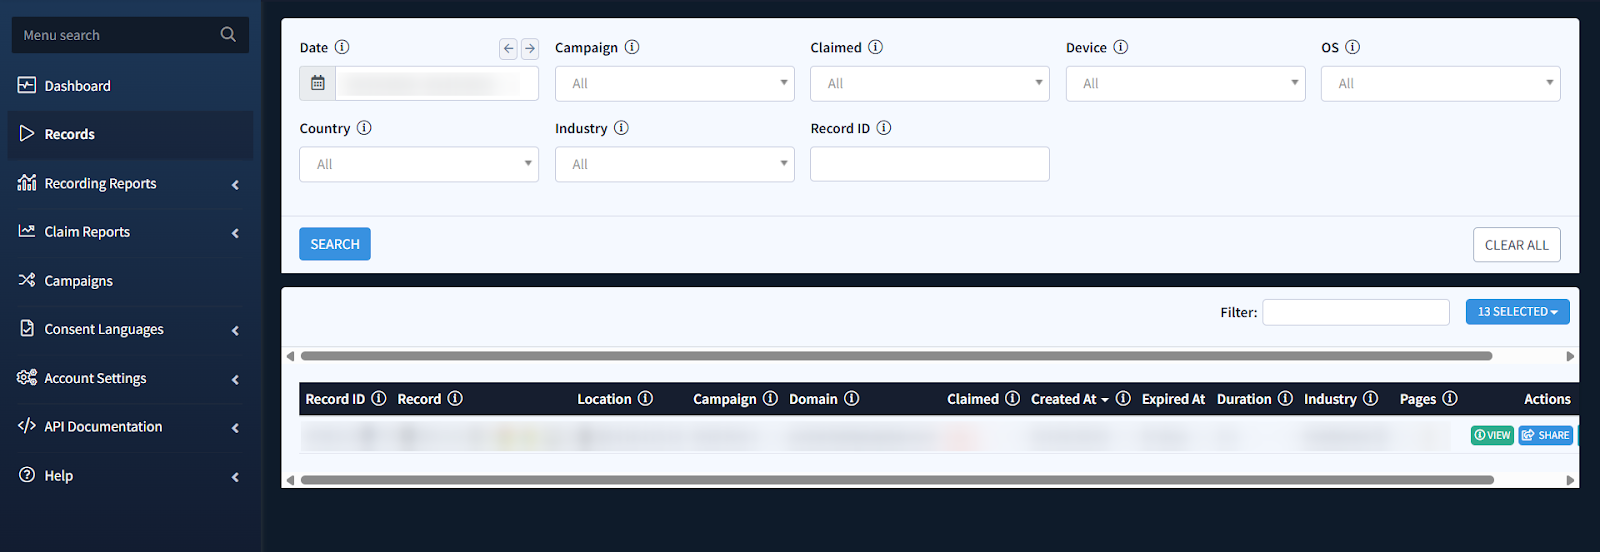
- Check Records: Go to the Records section from the left-hand menu bar. Here, you’ll find visitor interaction data captured as records, including session recordings and completed events on your website (once the tracking code is active). Within each record view, you can access key details, timelines, and complete interaction insights. Note: Some features may require an upgraded account.
Tip: Learn more about the Records feature in the Knowledge Base article.
- Want More Features?: To gain access to the API Documentation and to unlock advanced features like Claim, Confirm, Lead Snapshot operations, you’ll need to upgrade your account.
How to Upgrade:
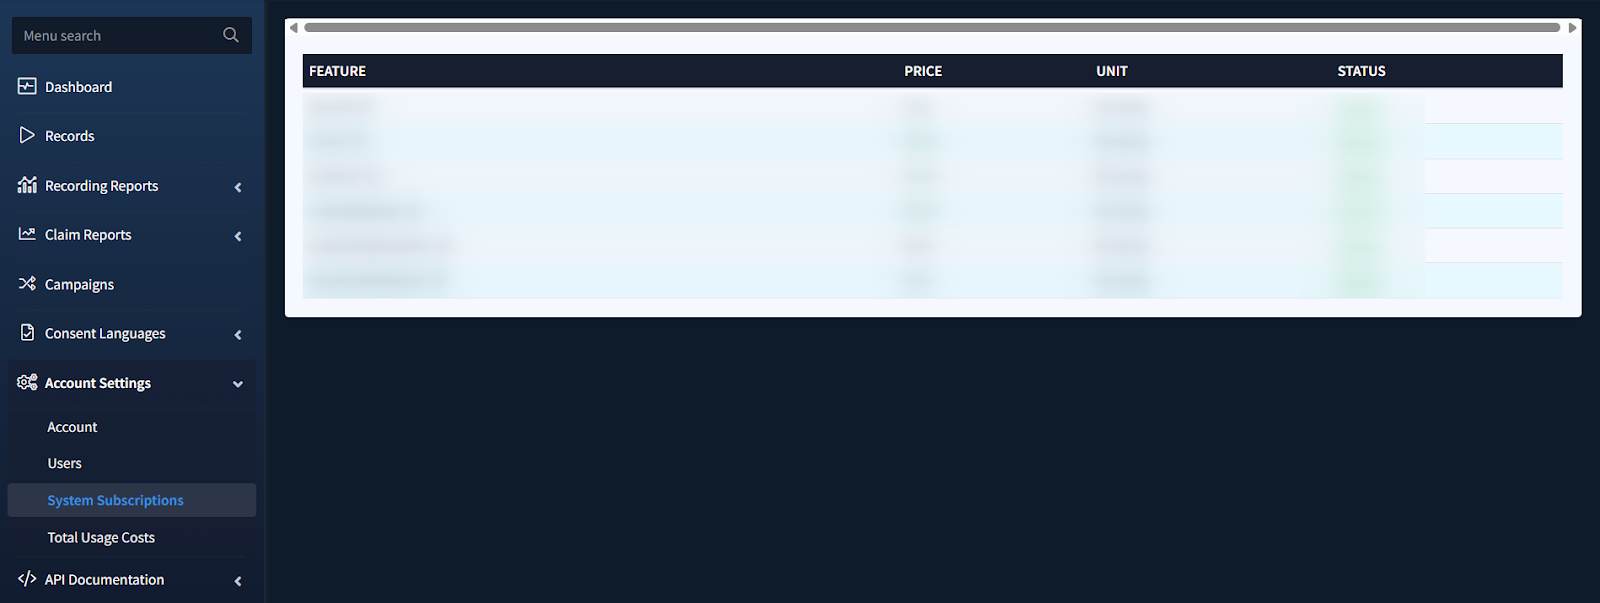
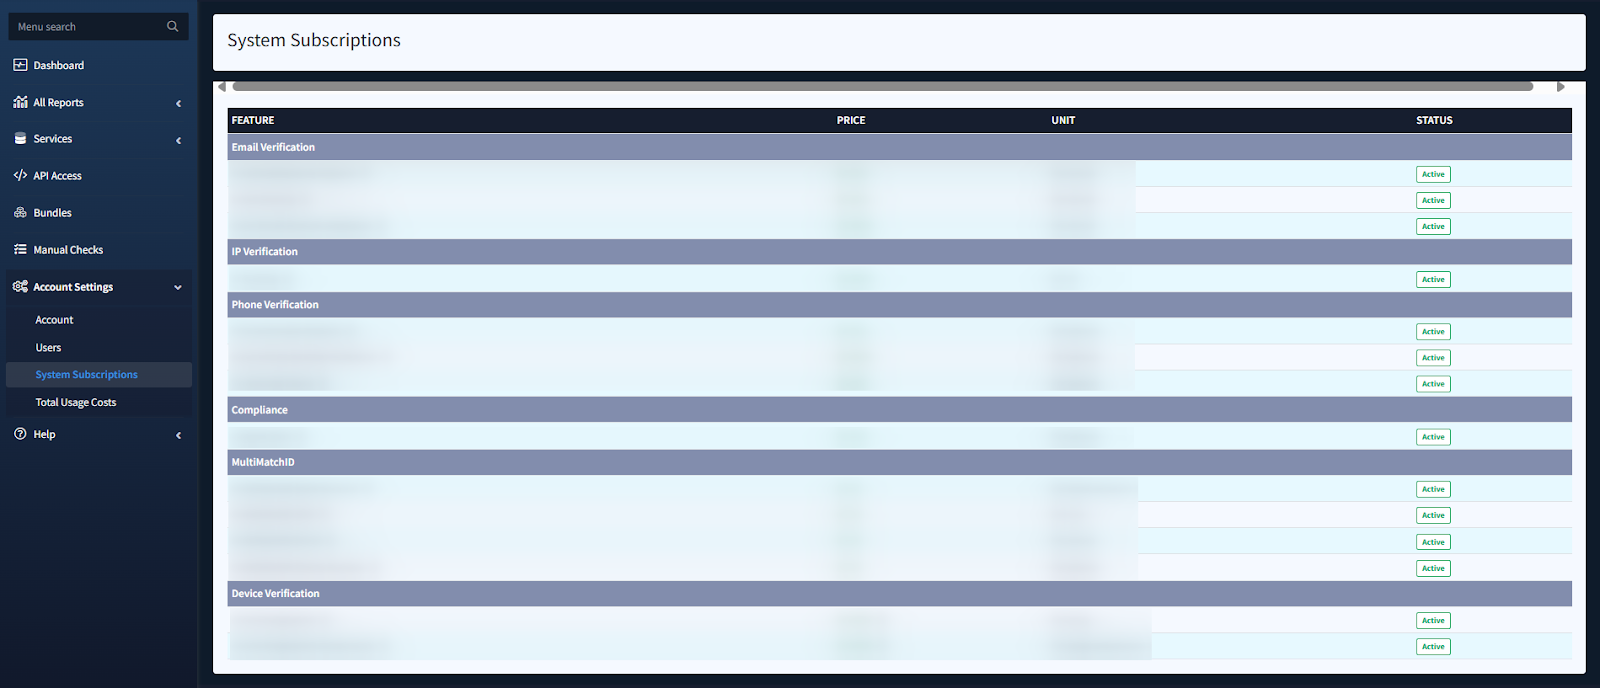
- Navigate to Account Settings > System Subscriptions. Alternatively, you can go to the API Documentation section or any section where you see the “Please upgrade” message – this indicates you are trying to access a premium feature.
- Complete the upgrade process to start using advanced functionalities such as Claim, Confirm, Lead Snapshot.
Tip: Upgrading also enables iClear.
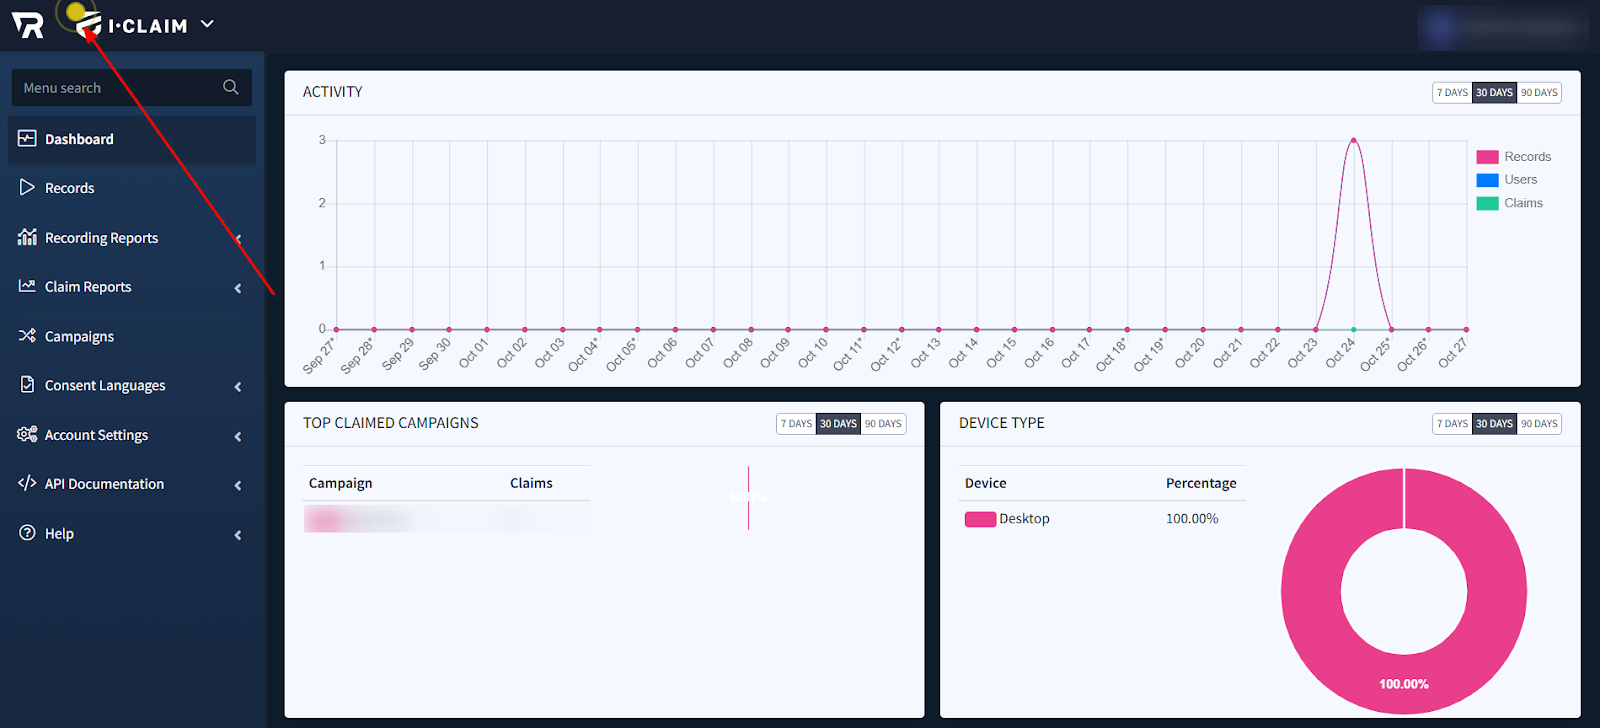
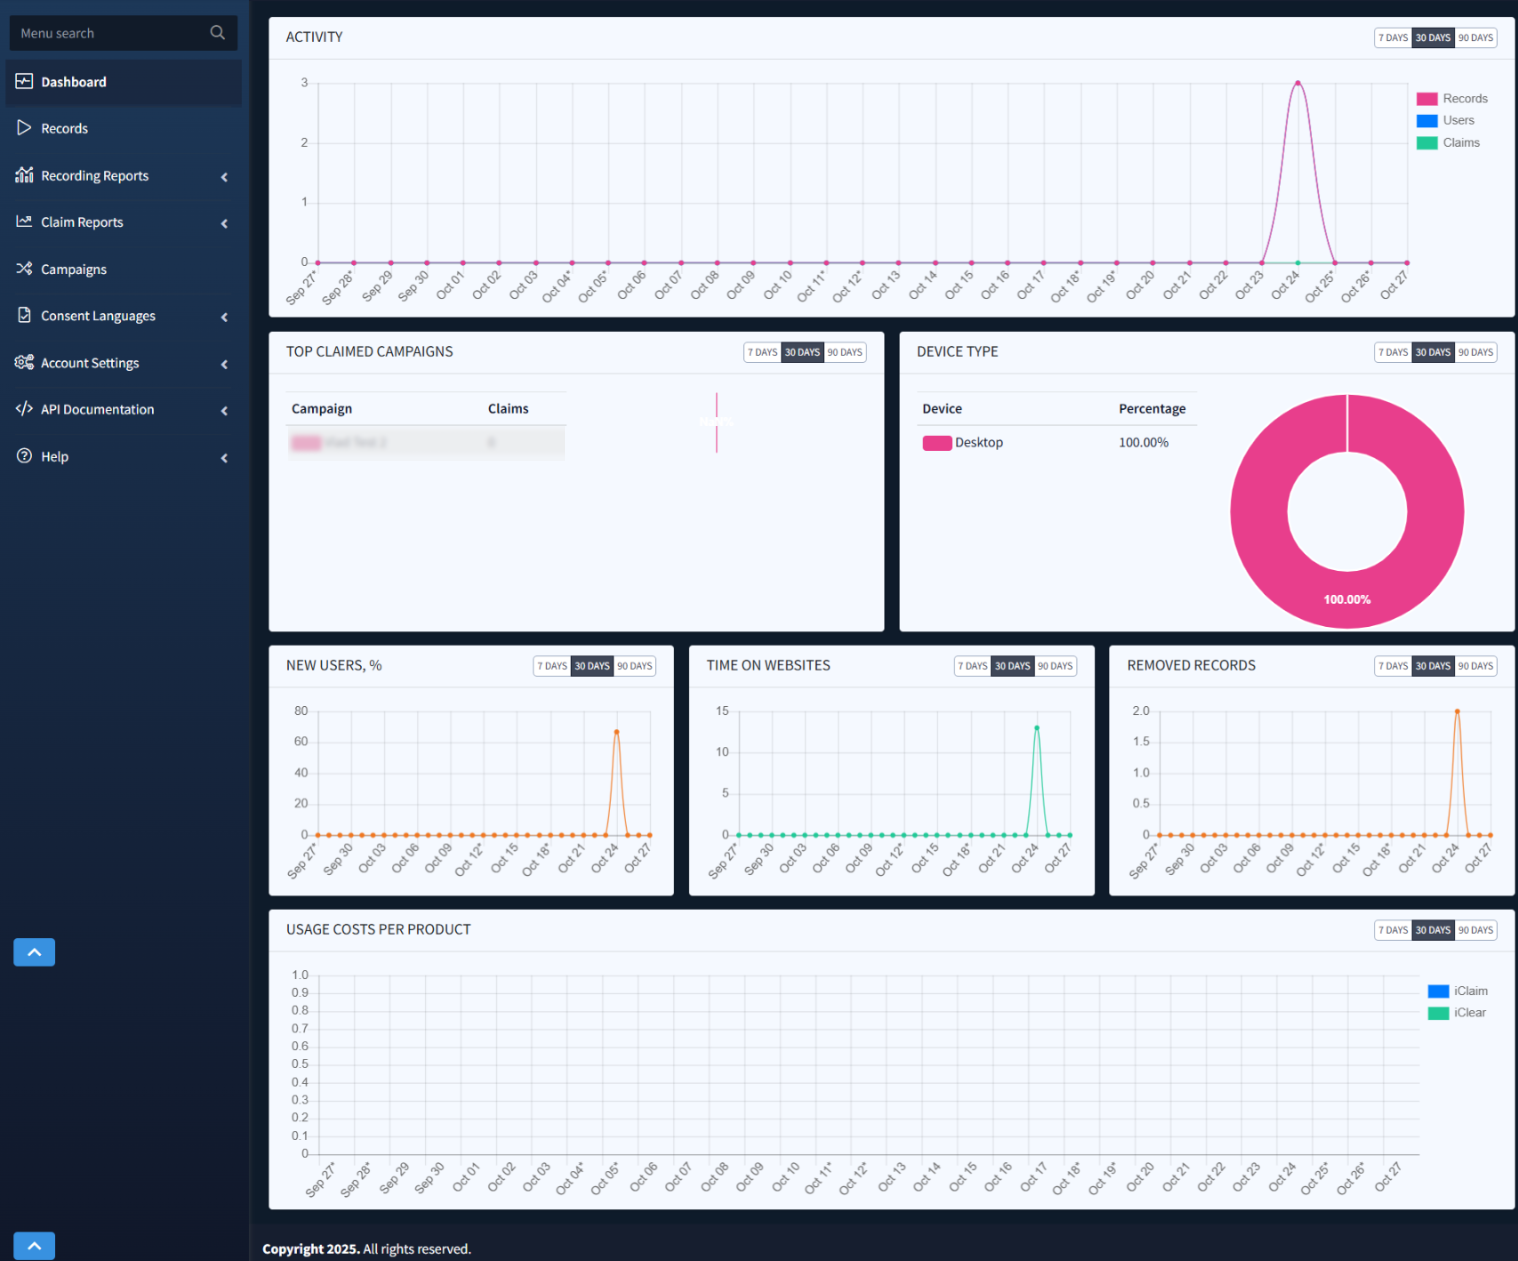
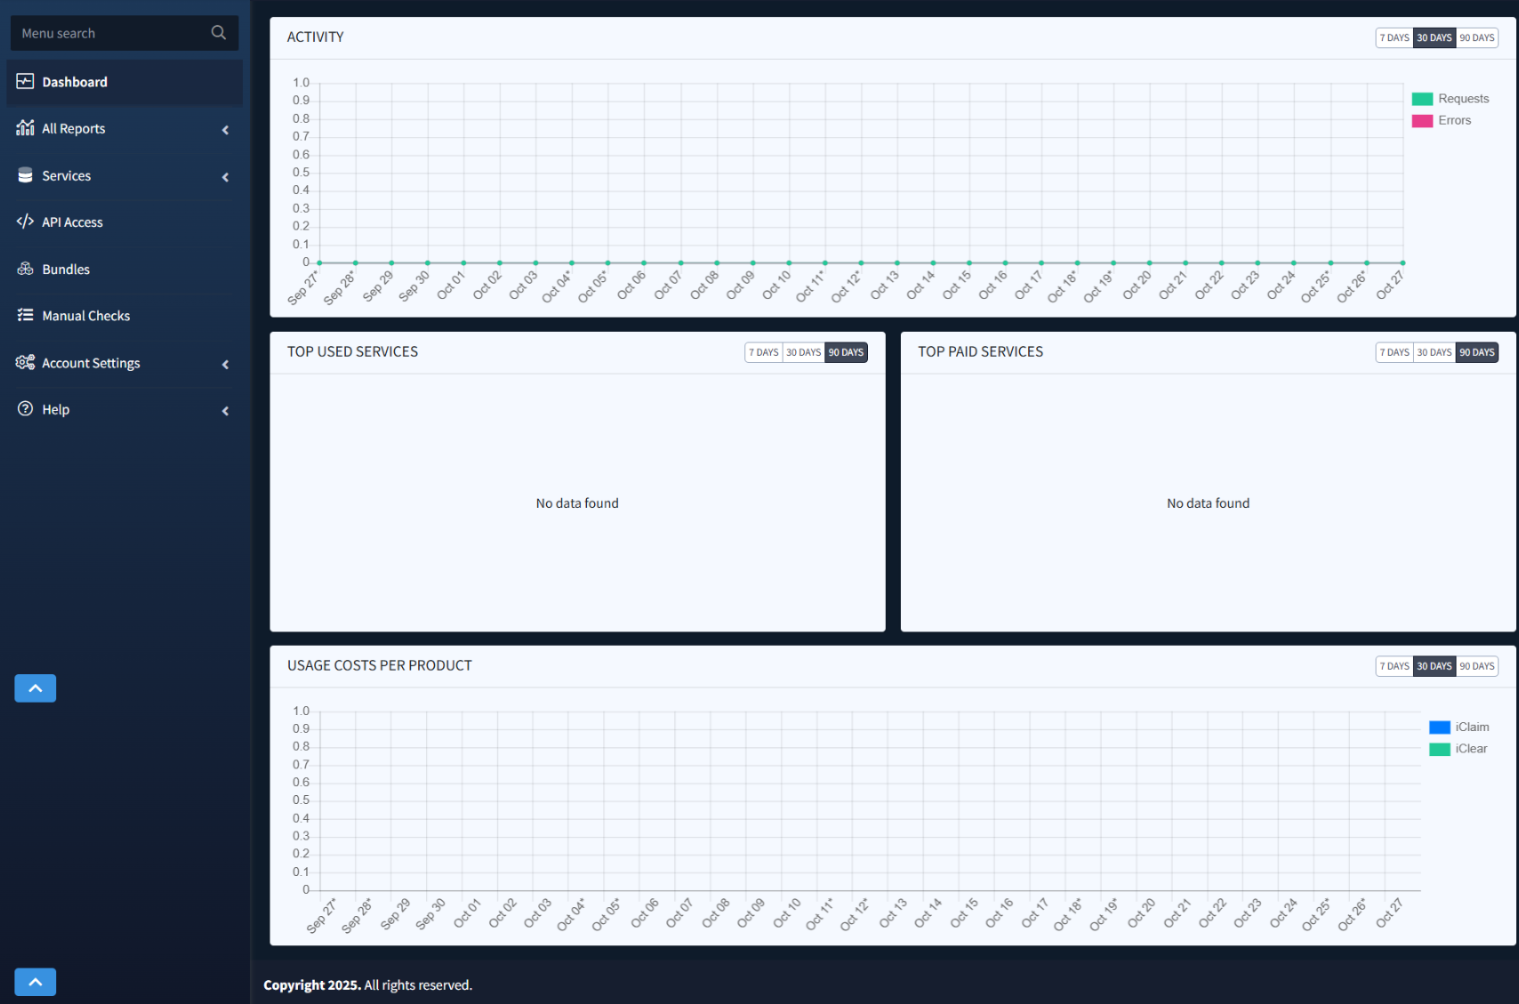
- Monitor Dashboard Activity: Use the Dashboard for a snapshot of activity, new users, and campaign engagement.
Tip: Learn more about the iClaim Dashboard in the Knowledge Base article.
iClear Quick Start
iClear is a user verification and fraud solution that allows you to instantly verify email authenticity, phone ownership, and postal address accuracy, score every IP against dozens of risk signals like proxies, bots, VPNs, and geolocation mismatches to flag and block suspicious traffic, automatically flag identity theft attempts, and monitor form‑fill patterns and interaction timing to spot bots, scripted attacks, or other anomalous behavior in real time. Note: iClear is an API-based solution, accessible only with a paid subscription.
Follow these steps to get started:
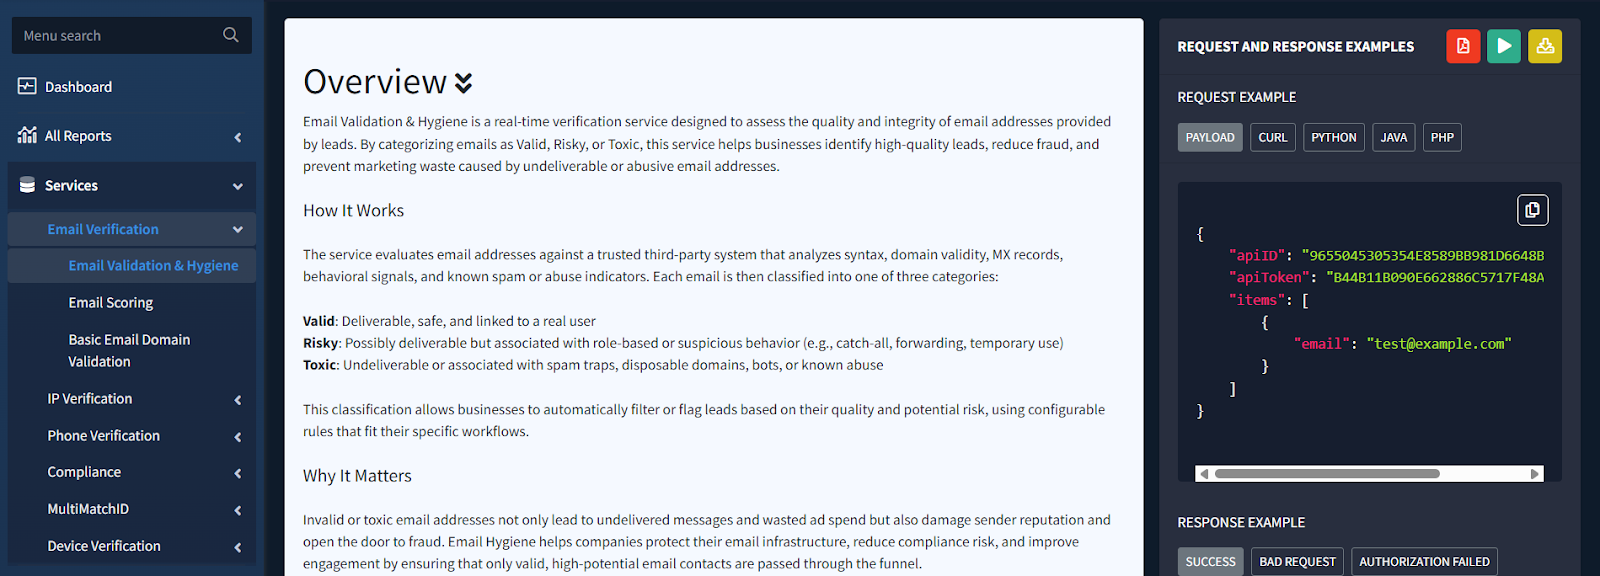
- Explore Available Services: First, explore all the services we offer along with their API documentation – including endpoints, payload specifications, response schemas, and code samples. To review these services, go to Services from the left-hand menu.
- Upgrade your account: To generate API keys and fully utilize iClear services, you’ll need to upgrade your account.
How to Upgrade:
- Navigate to Account Settings > System Subscriptions. Alternatively, you can go to the API Access section or any section where you see the “Please upgrade” message – this indicates you are trying to access a premium feature.
- Complete the upgrade process to start using advanced functionalities such as Claim, Confirm, Lead Snapshot.
Tip: Upgrading also enables iClaim.
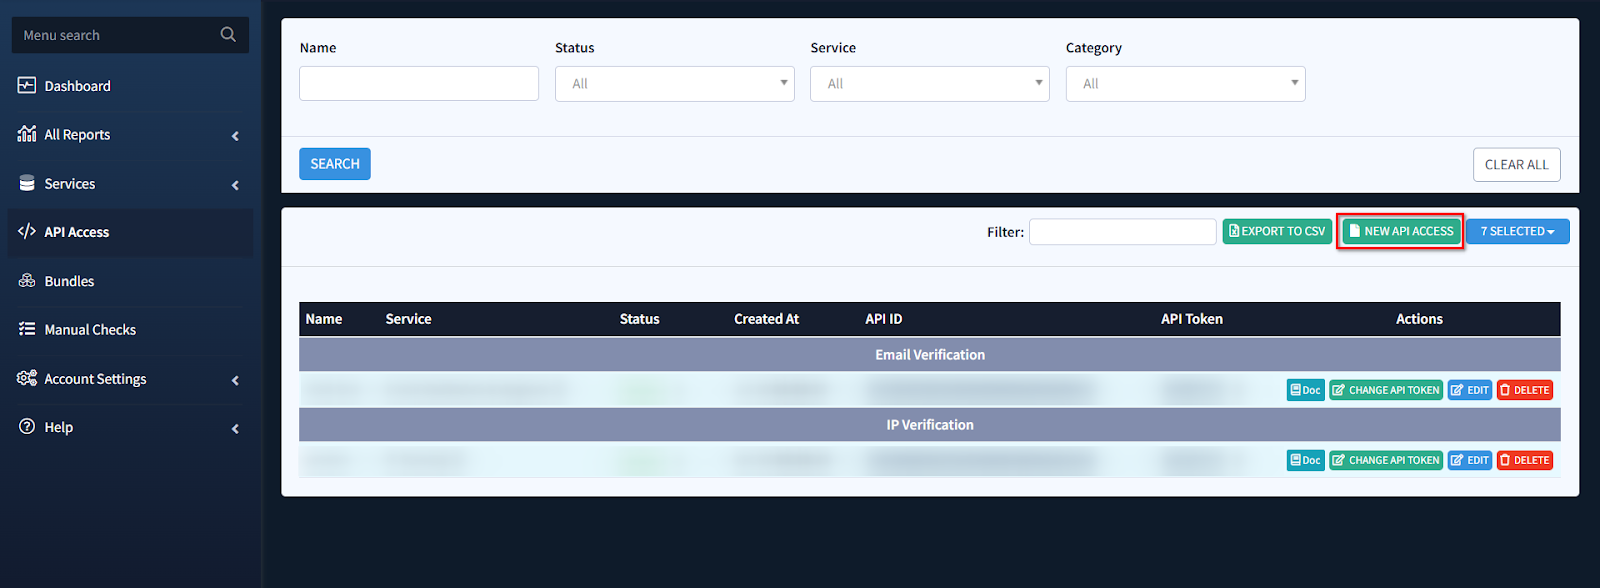
- Create API Access: Next, go to API Access > Add API Access section to create API keys for the respective services you want to integrate. These keys are required to authenticate and use iClear’s APIs.
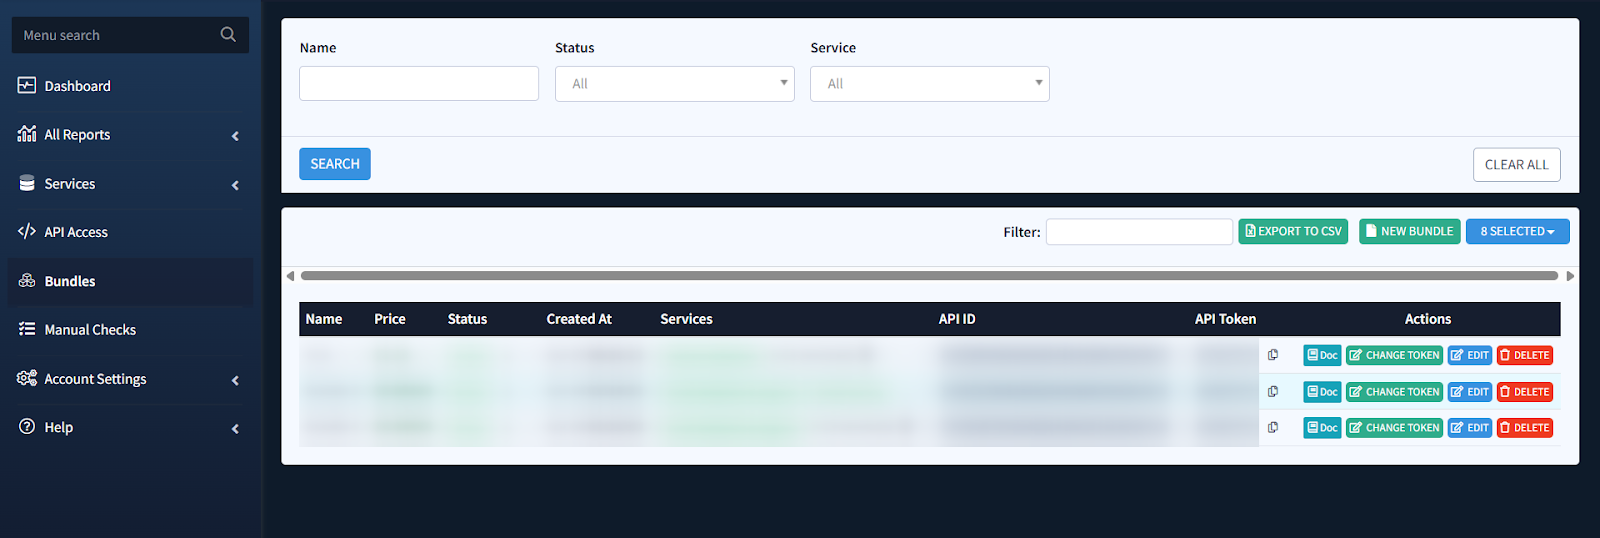
- Bundle & Save: We also have Bundles, where you can combine multiple services under a single API key and save on usage costs.
Tip: Learn more about Bundles in the Knowledge Base article.
- Monitor Dashboard Activity: Use the Dashboard to track requests, errors, top services, and spend.
Tip: Learn more about the iClear Dashboard in the Knowledge Base article.
Upgrading Your Account
Some advanced features in iClaim (e.g., record claiming, lead snapshot) and iClear require an upgraded account – everything you need to get the most out of ValidRecord. To upgrade and unlock premium features:
- Navigate to Account Settings > System Subscriptions. Alternatively, you can go to any section where you see the “Please upgrade” message – this indicates you are trying to access a premium feature.
- Complete the upgrade process to gain access to ValidRecord’s advanced features.
Tip: The System Subscriptions section provides a clear breakdown of the pricing.
Helpful Resources
To help you make the most of ValidRecord, we provide multiple resources and support options:
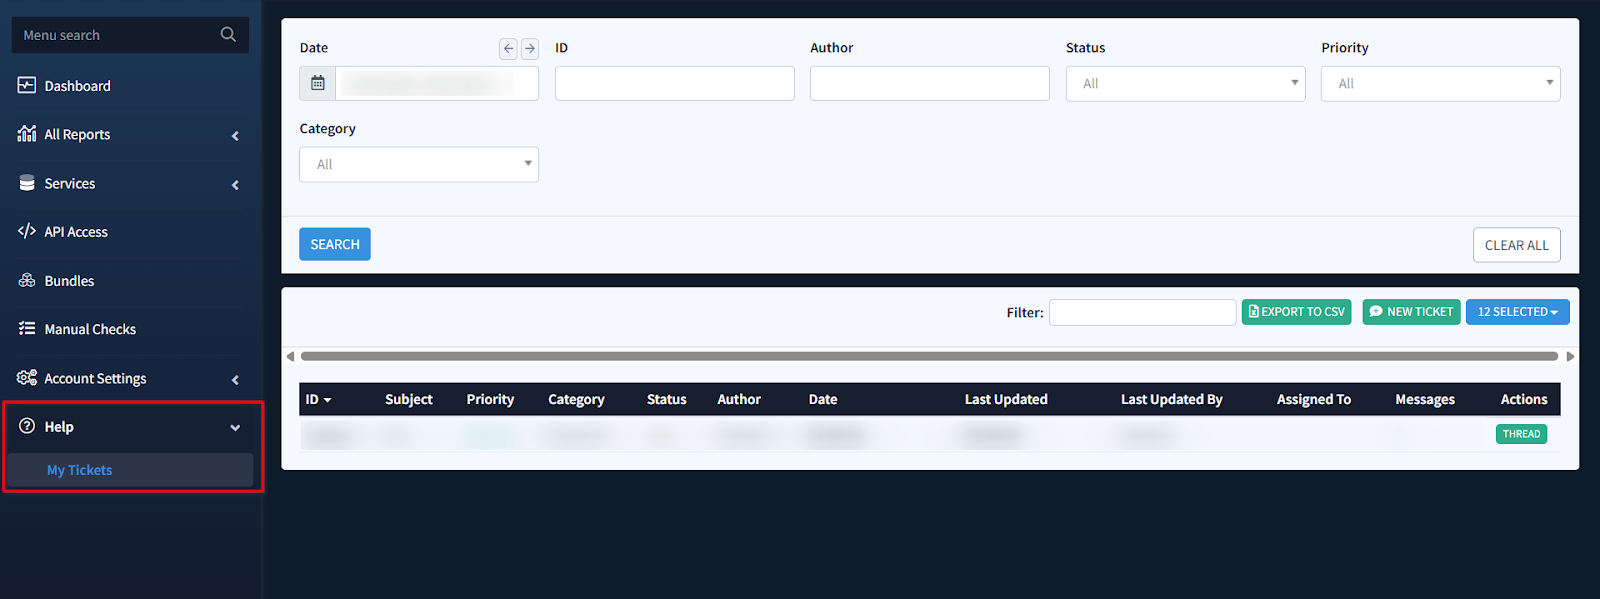
- Help Ticketing System: Submit support tickets directly through your ValidRecord account for quick assistance with any issues or questions.
- Knowledge Base: Explore our Knowledge Base on the website for in-depth guides, FAQs, and best practices on using iClaim and iClear.
- Contact Us Form: Use the Contact Us form on the website to reach our support team for personalized assistance.
- User Flows: Access the Getting Started user flows to view step-by-step guides on using ValidRecord.