iClear Manual Checks
Use iClear Manual Checks to validate data on demand – send single-service or bundled API requests, upload bulk JSON/CSV files, and automate checks through the Bulk API.
Manual Checks lets you validate data on demand, right from the interface – no integration or development work needed. You run each check yourself and review the full response in real time: verify a single record with one service, combine several services into a discounted bundle, or upload a JSON or CSV file to validate many records at once. For teams that later want to run the same checks automatically, the Bulk API tab provides ready-to-use request details.
Note: Manual Checks is available to ValidRecord paid clients, and the service usage requires an additional fee payment.
Benefits
- Immediate, on-demand validation – from a single record to thousands.
- Flexible inputs: one service, a discounted bundle, or a JSON/CSV file.
- Multiple delivery options: on-screen, file download, FTP, SFTP, or HTTP API.
- Automation-ready through the Bulk API.
To view the information about available services and perform the request, go to the iClear > Manual Checks section.
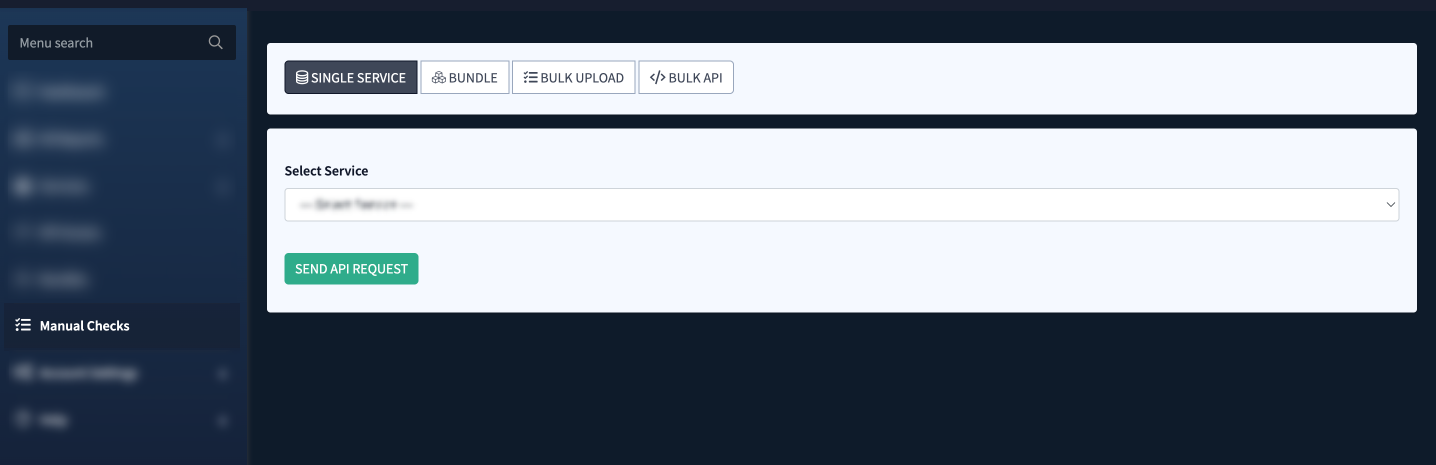
The section contains four tabs:
- Single Service – allows you to send an API request manually for the particular individual service.
- Bundle – allows you to build up a bundle of services to which the API request will be sent simultaneously.
- Bulk Upload – allows you to upload large CSV datasets for bulk validation through the individual service or through the composed bundle of services, as well as to view the information about the validation that has already been processed and finalized.
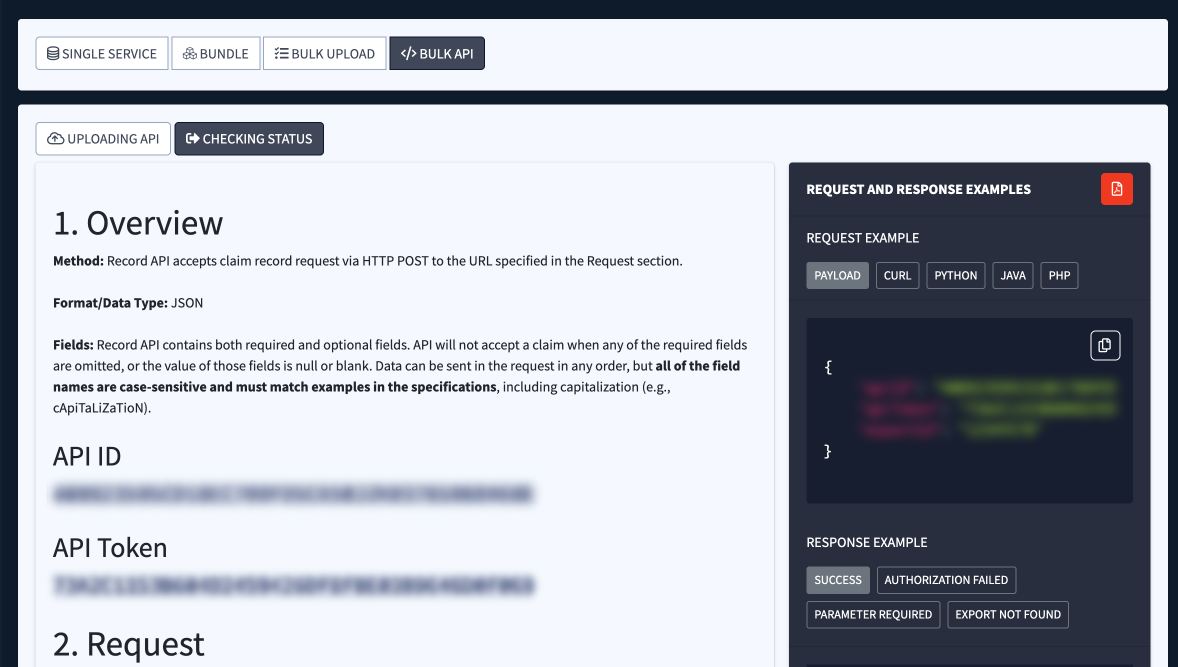
- Bulk API – allows you to view the API documentation about the bulk validation processing, such as the API for data uploading and checking the current status of the bulk validation operation.
Single Service
Send a manual API request for a single iClear service.
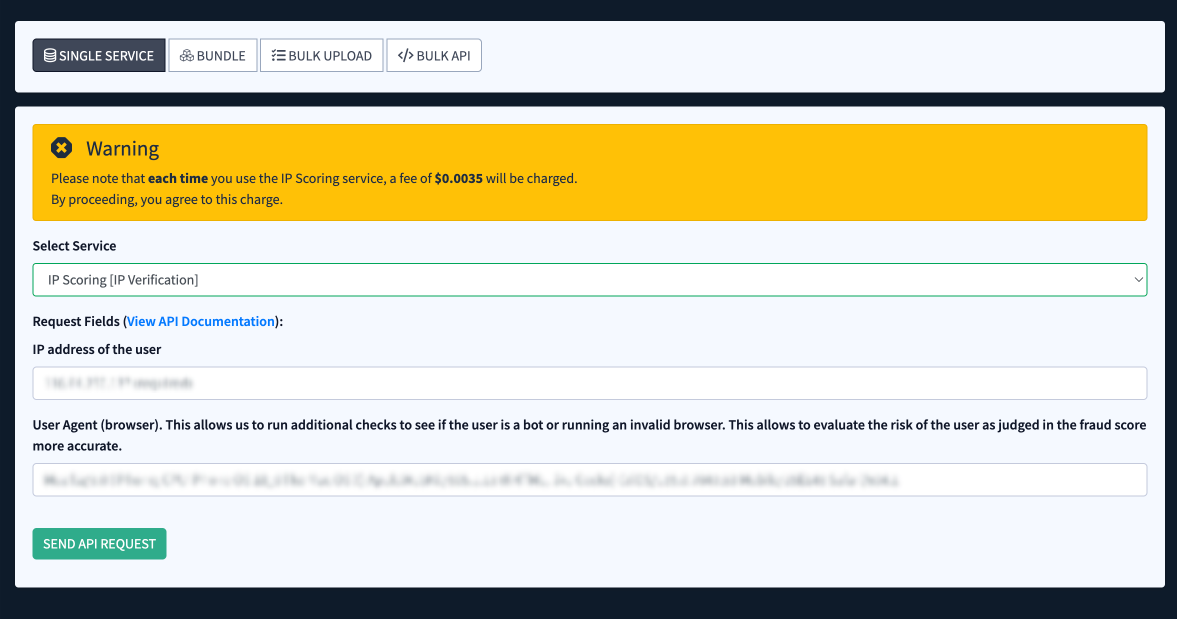
- On the “Single Service” tab, select the corresponding service in the “Select Service” field. Depending on the selected service, the list of required fields for the API request will be displayed below.
- To view the information about the service API documentation, click the “View API Documentation” link in the “Request Fields” field.
- After selecting the desired service, fill in the required fields and click the “Send API Request” button to complete the action. Before sending the API request, review the fee information in the “Warning” pop-up.
- The response appears below in two views: a Table view (fields and values) and a JSON view. Use Show Response, Copy Response, and Hide Response to manage the JSON.
Bundle
Combine several services into a single request and apply a bundled discount.
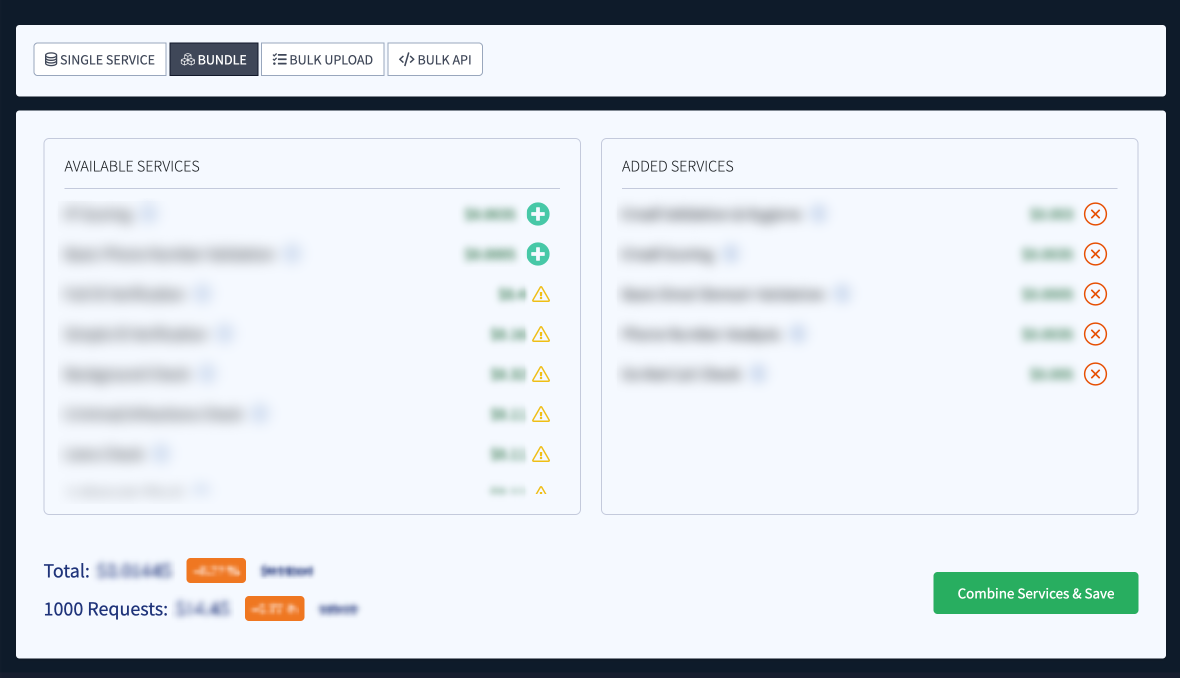
- To create the API request for the bundled services, select the “Bundle” tab. Select the corresponding services from the “Available Services” list and add them to the bundle by clicking the “+” button in the corresponding row. Selected services will be displayed in the “Added Services” list. To remove the selected service from the list, click the “x” button in the corresponding row.
- The total price for the bundled API request sending will be displayed in the “Total” field, along with the percentage of the applied discount. Also, the price for sending 1000 API requests will be displayed in the “1000 Requests” field.
- Click the “Combine Services and Save” button. A combined form opens with all required fields from the selected services.
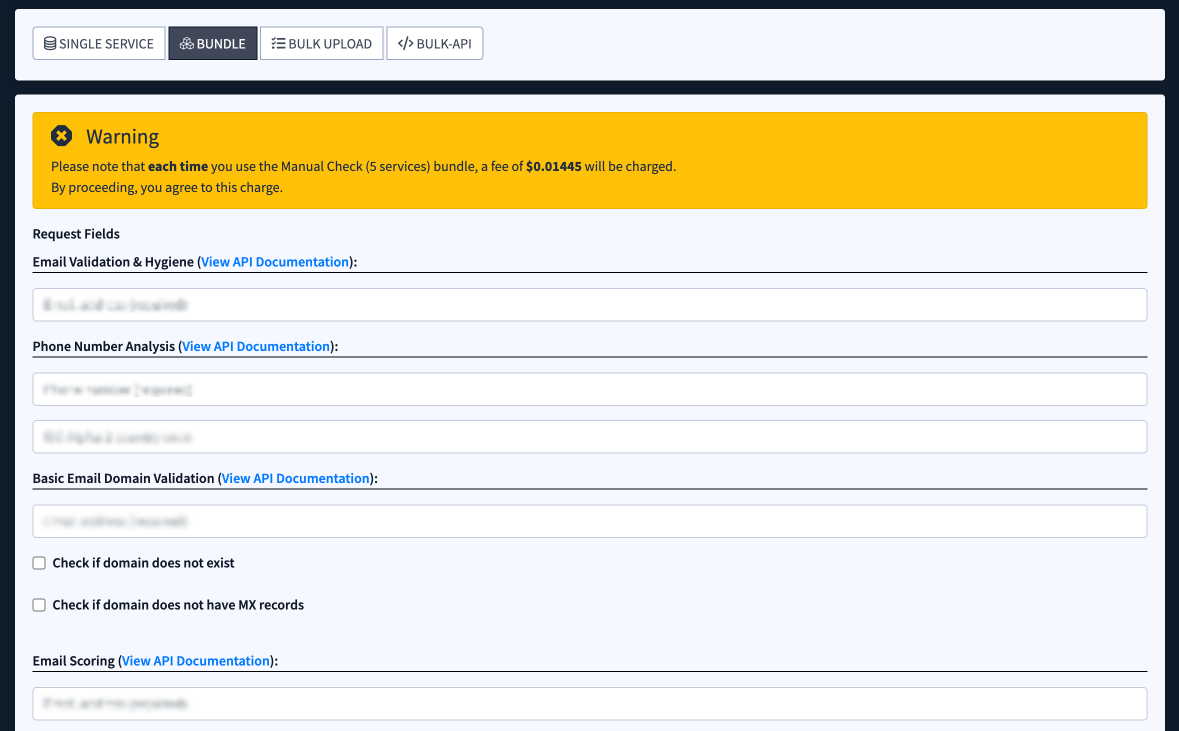
- You will be redirected to the section where the required fields for the combined API request are displayed. The system automatically compiles all necessary fields from the individual services into one combined form. Fill in the fields from the list, and click the “Send API Request” button to complete the action. Before sending the API request, review the fee information in the “Warning” pop-up.
- To view additional information about API documentation for every request from the bundle, click the “View API Documentation” link next to the particular service.
- The response appears below in two views: a Table view (fields and values) and a JSON view. Use Show Response, Copy Response, and Hide Response to manage the JSON.
Note: For some services, the corresponding API Access record should be created before its usage. In this case, the warning icon instead of the “+” button will be displayed in the service row.
To create the API Access record, go to the “API Access” section.
Read more about the API Access section in the following Knowledge Base article.
Bulk Upload
Validate many records at once by uploading a file, and monitor every export in one place.
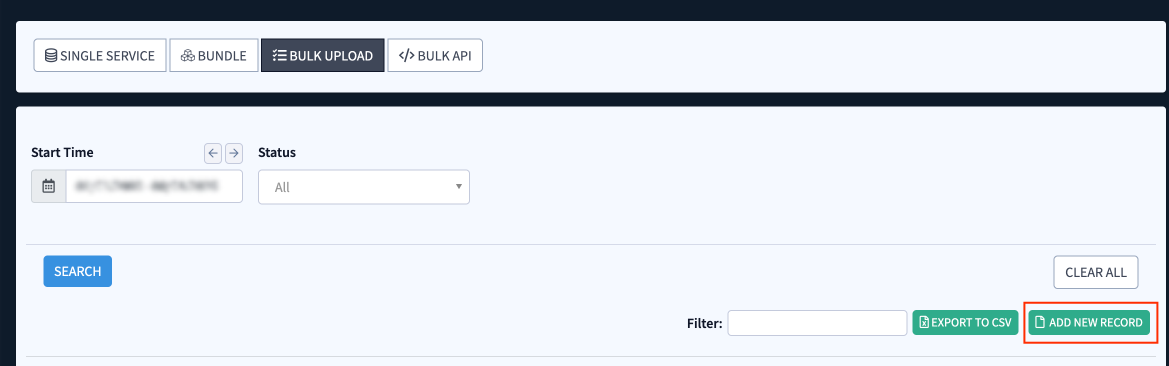
To perform the bundle validation of the dataset from the file, select the “Bulk Upload” tab and click the “Add New Record” button.
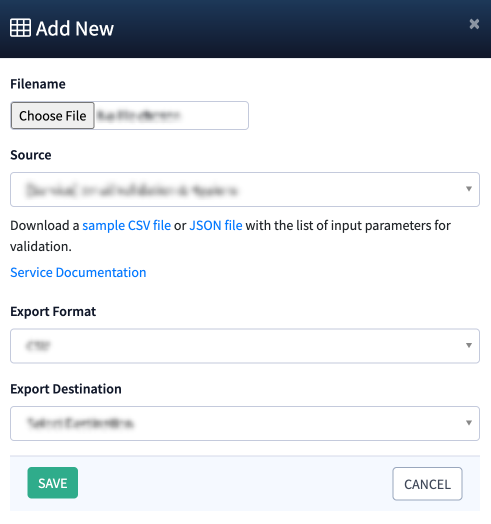
Fill in the following information in the “Add New” pop-up window:
- Filename: Select the file with the dataset for the validation.
- Source: Select the individual service or the service bundle through which the validation should be performed. To download a sample of the file for the import, click the corresponding CSV or JSON links. To view the documentation about the service or the service bundle, click the “Service Documentation” link.
- Export Format: Select the format for the file that will be received after the data validation processing completion (JSON, CSV, CSV (tab separator), CSV (semicolon separator)).
- Export Destination: Select the destination where the results of the validation processing should be sent (Download File, HTTP API, FTP, SFTP, AWS S3 Bucket, Google Storage Bucket).
- If the “HTTP API” option is selected:
- Full Web URL: Enter the full URL (example: https://example.com/iclear-export) where the data validation results should be posted via API.
- Username: Enter the username used for API authentication.
- Password: Enter the password used for API authentication.
- If the “FTP” or the “SFTP” option is selected:
- Server Address: Enter the full address of the FTP or SFTP server (example: ftp.example.com).
- Port: Enter the port number for the server connection.
- Username: Enter the username used for authentication on the FTP or SFTP server.
- Password: Enter the password used for authentication on the FTP or SFTP server.
- Path / Filename: Enter the full destination path (including directories) and filename where the data validation results will be uploaded.
- If the “AWS S3 Bucket” option is selected:
- API Key: Enter the unique API Key (Access Key ID) used to access the AWS S3 environment.
- Secret Key: Enter the secret key used for authentication alongside the Access Key ID.
- Region: Enter the AWS region identifier where the target S3 bucket is hosted.
- Bucket Name: Enter the name of the AWS S3 Bucket.
- Path / Filename: Enter the full destination path (including directories) and filename where the data validation results will be uploaded.
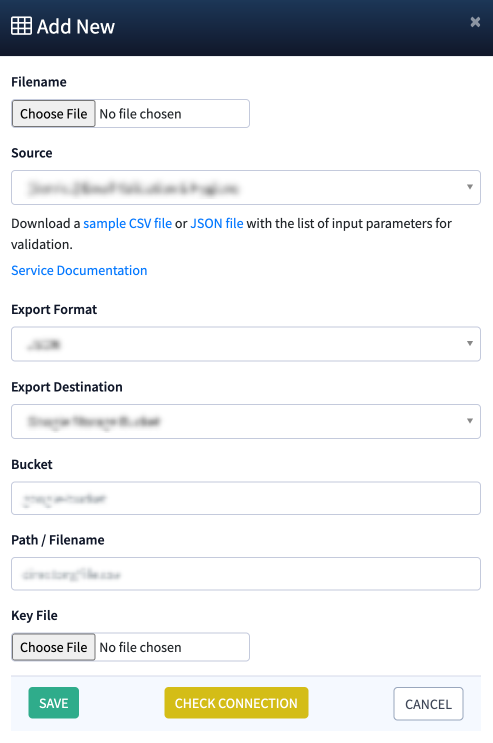
- If the “Google Storage Bucket” option is selected:
- Bucket: Enter the name of the Google Storage Bucket.
- Path / Filename: Enter the full destination path (including directories) and filename where the data validation results will be uploaded.
- Key File: Upload the key file that is used for authentication on the Google Storage Bucket.
- If the “HTTP API” option is selected:
Click the “Save” button to complete the task creation.
To check the status of the connection to the server before the export task creation for the “FTP”, “SFTP”, “AWS S3 Bucket”, or “Google Storage Bucket” options, click the “Check Connection” button.
The task will be started right after its creation. Note that if you upload a big dataset, the validation process will take some time.
To view the list of all available data validation tasks, go to the “Bulk Upload” tab.
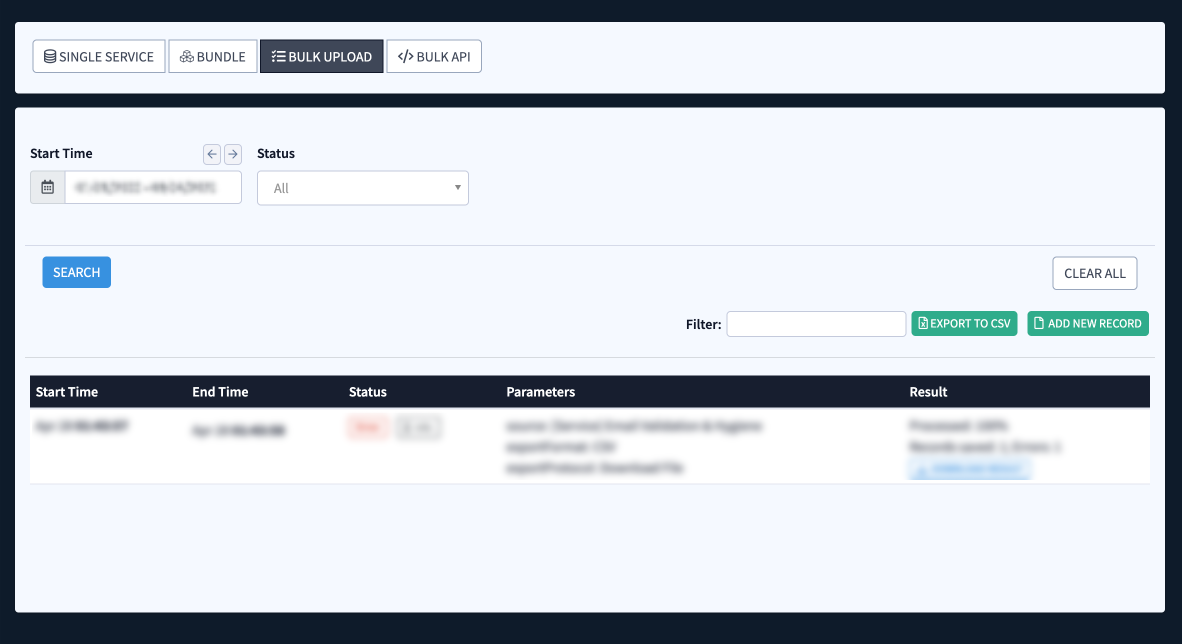
You can narrow down the search results by using the following filters:
- Start Time: Filter the tasks according to the time of their initialization and start.
- Status: Filter the tasks according to their current status (New, Running, Aborting, Success, Error, Aborted).
The list of data validation tasks contains the following information:
- Start Time: The date and time of the data validation task initialization and start.
- End Time: The date and time of the data validation task completion.
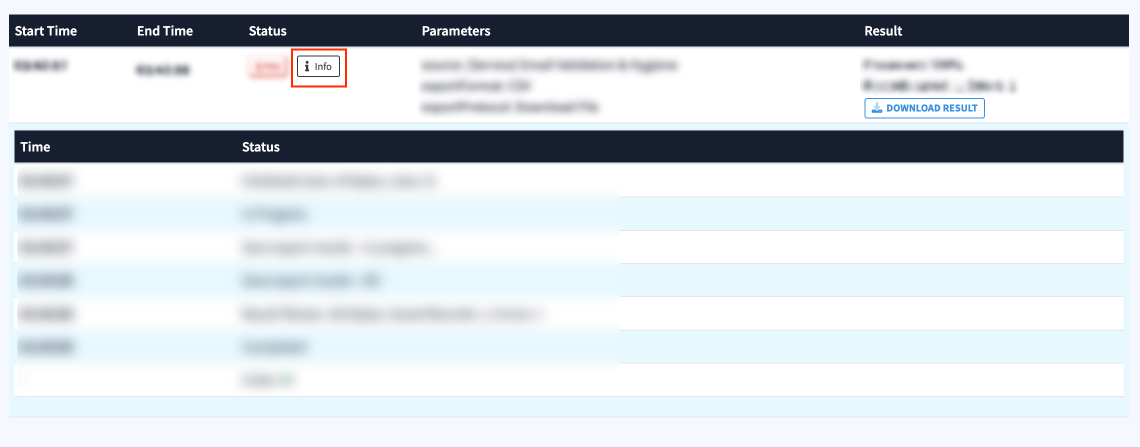
- Status: The current status of the data validation task. To view the detailed system information about the events that occurred during the task processing, click the “Info” button. The information about system events will be displayed in the collapsible section, which contains the date and time (the “Time” field) and the task statuses and system events descriptions (the “Status” field).
- Parameters: The list of parameters that were used for the data validation task, such as the service or bundle name, the format of the file that will be received after the data validation processing completion, and the validation results export parameters.
- Result: The details about the data validation task processing, such as the current processing completion percentage, the number of processed records, and the processing results. To download the file with the results of processing, click the “Download Result” button.
Bulk API
Create and monitor exports programmatically. The tab has two subtabs: Uploading API (submit a new export) and Checking Status (check an export’s status).
Uploading API
To view the APi documentation for creation and processing of the task for the uploaded data validation, select the “Uploading API” subtab.
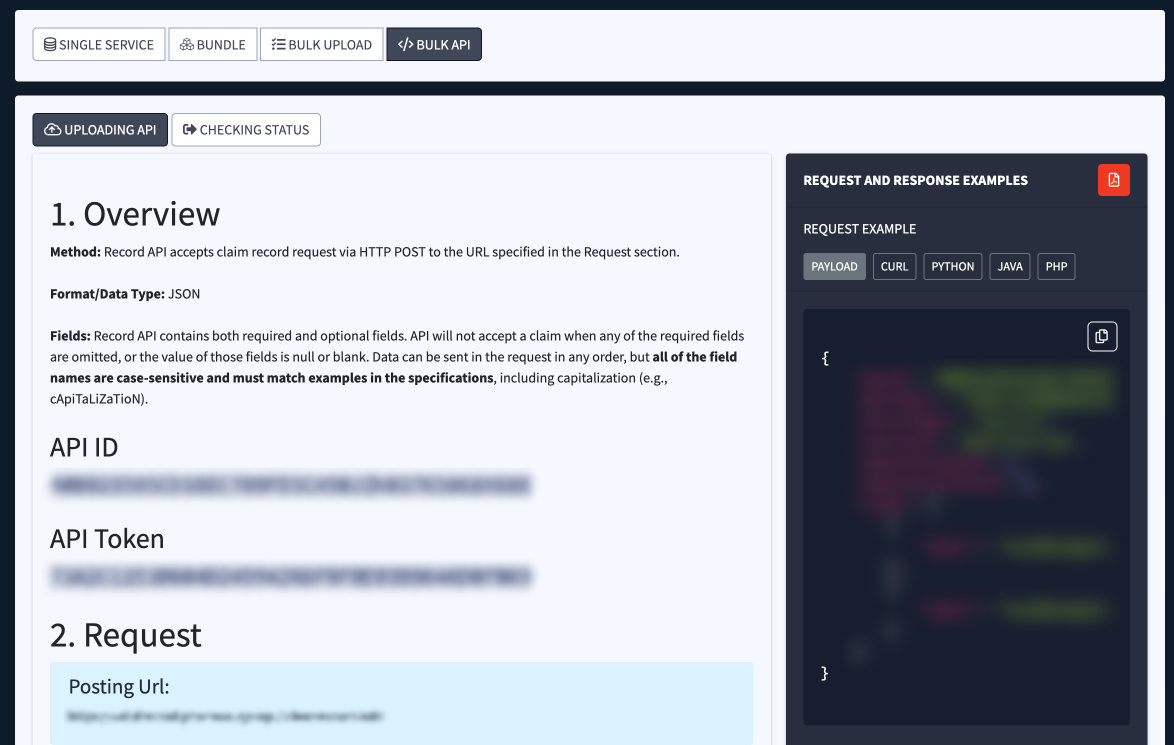
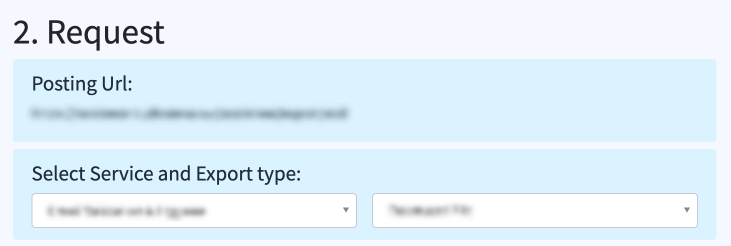
You can view the detailed documentation, including a set of fields with the respective data formats, used for the different services and the export types, by selecting the corresponding options in the “Select Service and Export type” fields. The field is located in the “2. Request” section of the APi Documentation.
Checking Status
To view the APi documentation for checking the status of the data validation task results, select the “Checking Status” subtab.