Campaigns
The Campaigns section allows you to create and manage iClaim Campaigns. Each Campaign contains a corresponding Tracking Code, a JavaScript snippet that enables website identification for each campaign. This Tracking Code captures user actions, logs them, and generates a record along with the recording that is securely stored in the system and can later be claimed and stored for future access.
Key benefits:
- Customizable Tracking: Create separate campaigns for each domain to track user interactions on a per-domain basis for more accurate data.
- Efficient Data Management: Organize campaigns by industry and domain to enable better segmentation, making it easier to monitor and analyze lead generation efforts for different sectors.
- Automated Lead Management: Automatically claim and store records to free up time for your team to focus on higher-priority tasks. Manage traffic sources dynamically with the Accept Traffic from All Domains feature, offering flexibility while maintaining control.
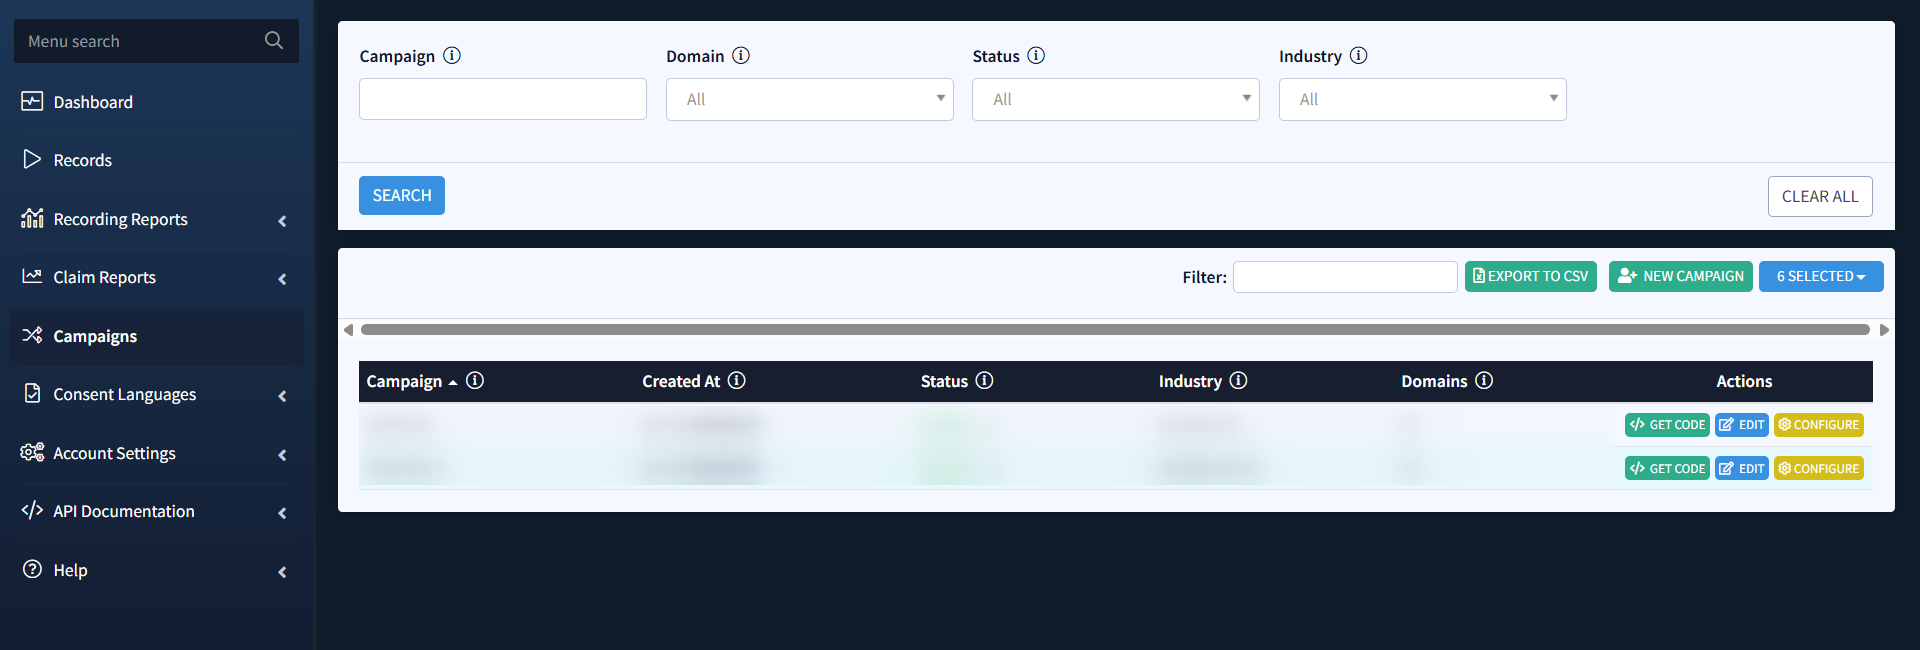
The campaigns list can be grouped according to the following filters:
- Campaign: Enter the name of the Campaign.
- Domain: Select the corresponding Domain.
- Status: Select the ongoing status of the Campaign (Active/Disabled).
- Industry: Select the Industry the Campaign is related to.
Click the Search button to apply the selected filtration.
The list of existing Campaigns contains the following information:
- Campaign: The name of the Campaign. The Campaign is a representation of a unique tracking code (JavaScript snippet) that enables website identification by campaigns.
- Created At: The date and time the Campaign was created.
- Status: The ongoing status of the Campaign.
- Industry: The Industry the Campaign is related to. The Industry is an entity that represents the business sector associated with the website of the Record, specified by the user when creating a Campaign (e.g., Finance, Solar, Insurance, etc).
- Domains: The name of the Domain the Campaign is related to.
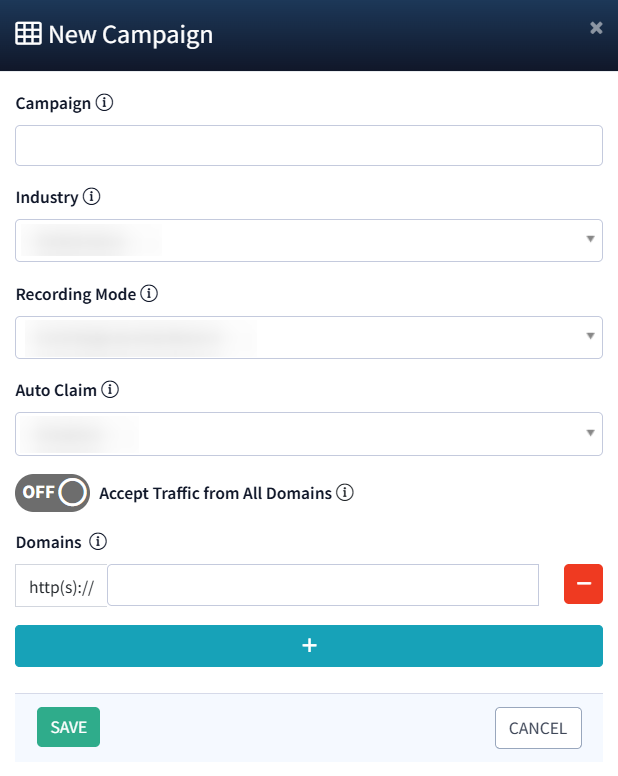
To create a new Campaign, click the New Campaign button and fill in the following fields in the New Campaign pop-up window:
- Campaign: Enter the name of the Campaign.
- Industry: Select the Industry the Campaign is related to.
- Recording Mode: Select the recording mode option:
- Single Record: Select this option to store all pages visited by a single user in a single record.
- Separate Records: Select this option to store all pages visited by a single user in separate records.
- Auto Claim: Select the corresponding option for the Auto-Claim feature. The following options are available:
- Disabled: Auto Claim is turned off. Records must be stored manually or via API calls.
- Claim Records with Form Submit: Records are automatically stored when a lead generation form submission is detected by the iClaim tracking code. Records without form submissions will not be claimed.
- Claim All Records: All records are automatically stored, regardless of lead generation form submissions.
- Accept Traffic from All Domains: Select the ongoing status of the feature. This option allows you to choose whether to accept traffic from any domain, offering flexibility in capturing leads (toggle ON button), or restrict traffic to pre-approved domains for better control (the OFF option).
- Domains: Enter the name of the related Domain.
Click Save to complete the creation process.
The Auto-Claim & Accept Traffic from All Domains Features Overview
The Auto-Claim feature allows you to automatically claim and store records based on the settings you’ve selected. Records can be claimed manually, triggered by lead generation form submissions detected by your iClaim tracking code, or automatically for all recordings. Standard fees apply for each stored record, and Auto Claim can be disabled at any time.
The Accept Traffic from All Domains feature gives you the ability to control how leads are captured based on the source domain. With this feature enabled, iClaim accepts traffic from any domain, allowing for more dynamic and inclusive lead capture. When disabled, this feature restricts traffic to only pre-approved domains, providing more stringent control over where leads come from.
Benefits of Using Auto-Claim and Accept Traffic from All Domains features:
- Flexibility in Lead Capture: Collect leads from any website, making it easier to capture valuable records across a broad range of sources.
- Simplify Management: For businesses managing multiple websites or client domains, Auto-Claim simplifies the process by eliminating the need for domain whitelisting. This feature allows agencies to scale their lead collection without additional setup or maintenance.
- Improved Efficiency through Automation: The Auto-Claim system automatically stores your records, freeing up time for your team to focus on other tasks. Whether you’re using form submissions or claiming all records, the automation enhances productivity.

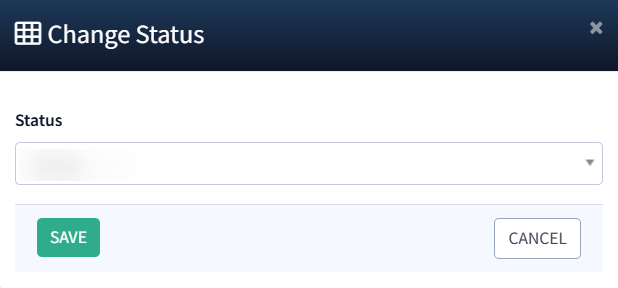
To change the ongoing status of the existing Campaign, select the corresponding Campaign from the list and click the Change Status button in the Status column.
To manage an existing Campaign, use the Actions column. The following management options are available:
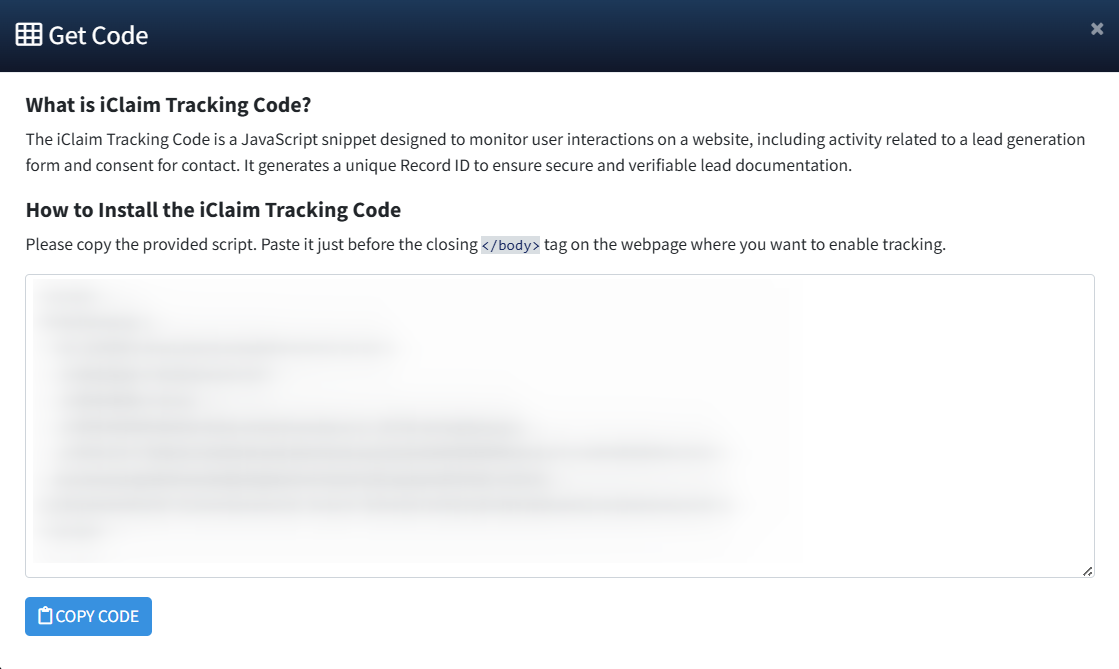
- Get Code: Select this option for obtaining a Tracking Code. The iClaim Tracking Code is a JavaScript snippet designed to monitor user interactions on a website, including activity related to a lead generation form and consent for contact. It generates a unique Record ID to ensure secure and verifiable lead documentation. To use this code for a client’s website or webform, copy the auto-generated script. To copy the provided tracking code snippet, click Copy Code in the Get Code pop-up window. Paste it just before the closing </body> tag on the webpage you want to enable tracking.
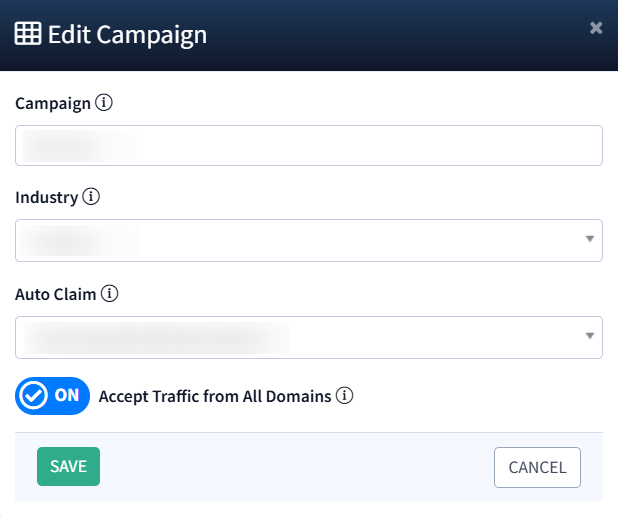
- Edit: Select this option to edit general information about the Campaign. Change the Campaign’s name, update the related Industry, enable or disable the Auto-Claim and Accept Traffic From All Domains options, and add, remove, or edit the list of corresponding Domains in the Edit pop-up window. To apply your changes, click the Save button.

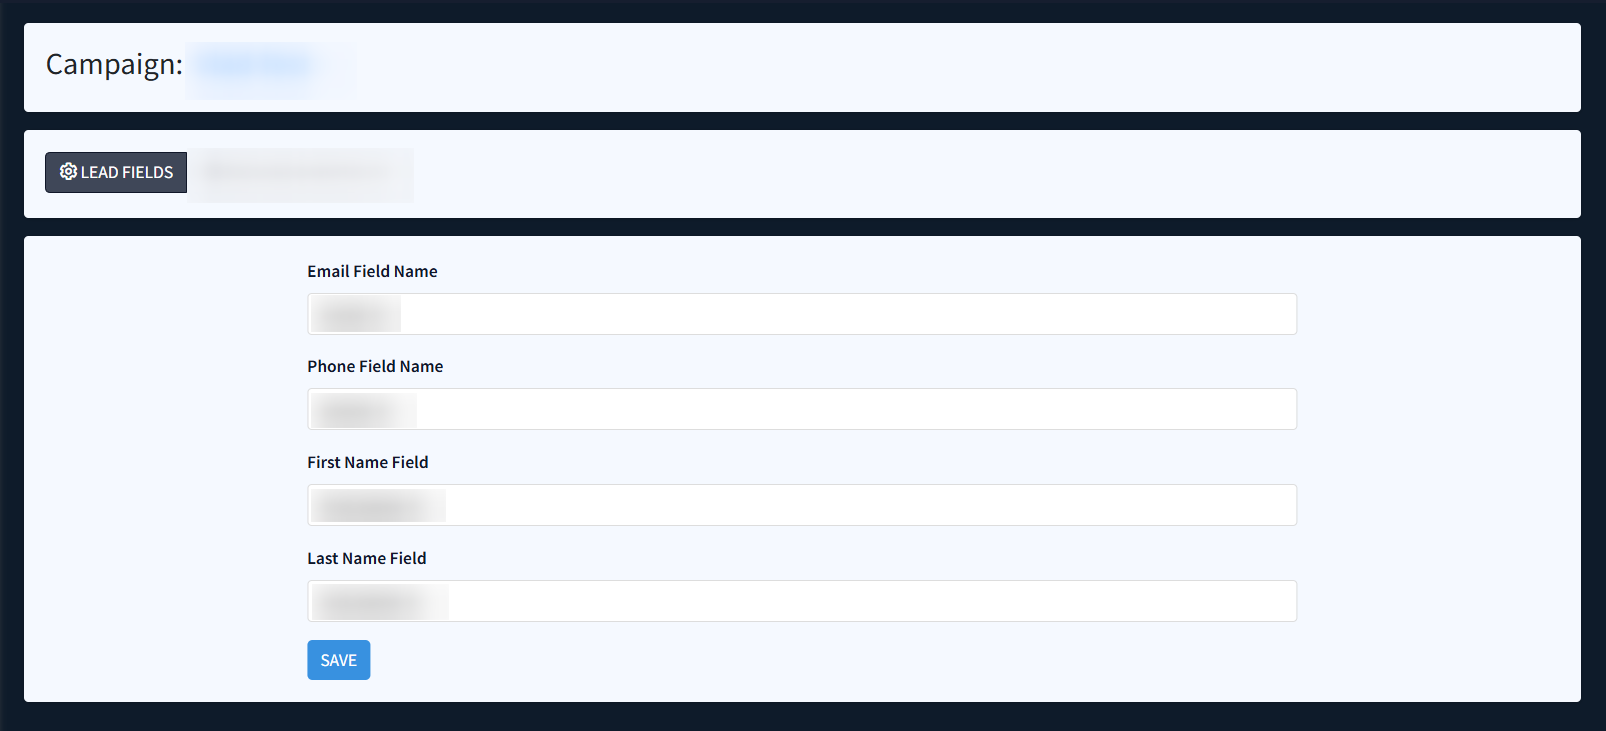
- Configure: Select this option to open the Campaign Configuration Section. This Section contains two tabs:
- Lead Fields: Select the fields available on your website or webform for the Lead Contact Manual Check operation.
-
- Exclude and Whitelist: This tab allows you to manage the settings for the Campaign tracking workflow by adjusting the list of allowed and excluded countries, excluded content that is available on the webpage, and masking fields input.
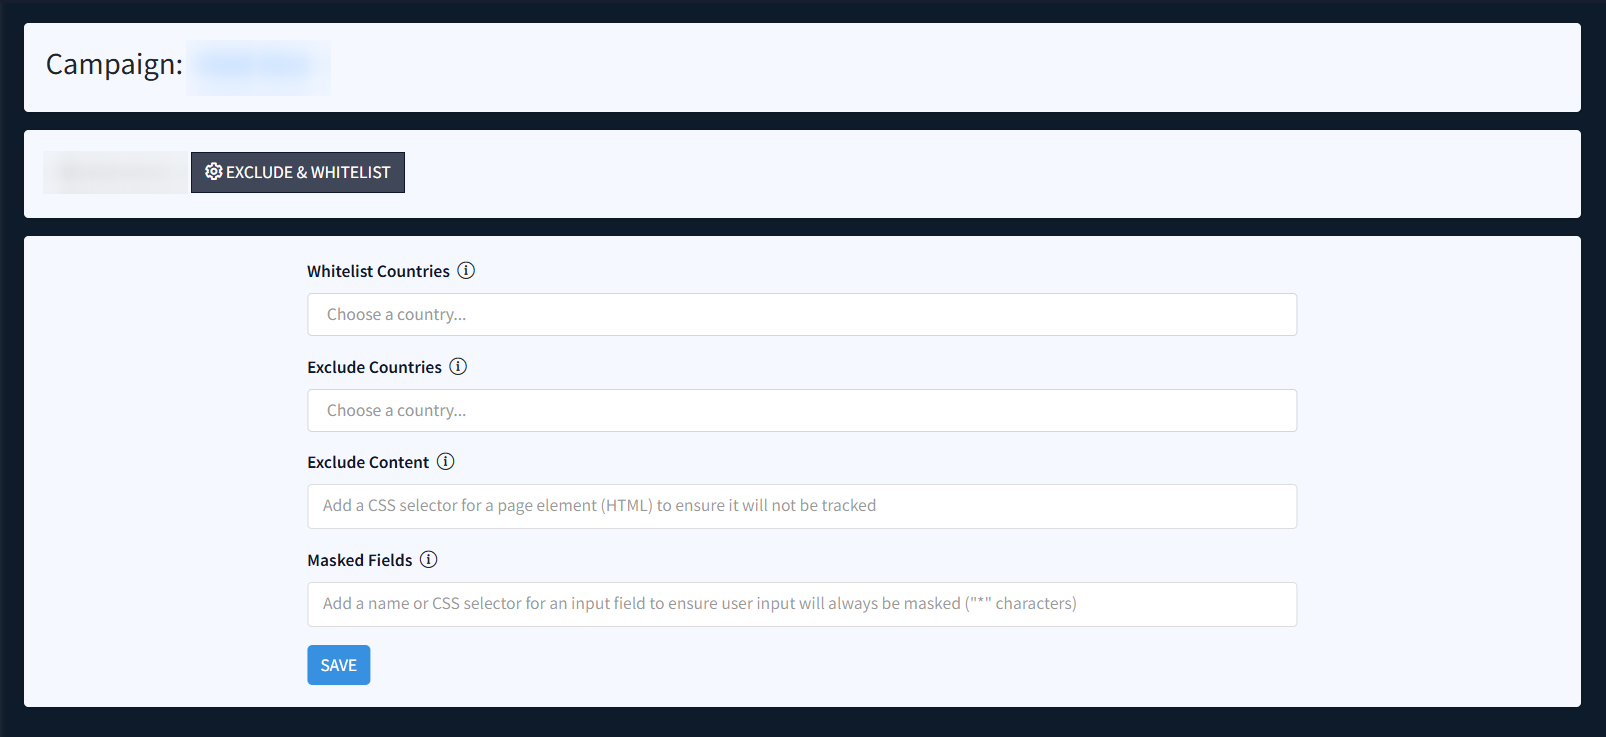
The ongoing tab contains the following settings:
- Whitelist Countries: Select the countries that should be whitelisted for the tracking code workflow, allowing you to include specific geographic regions.
- Exclude Countries: Choose countries to exclude from the tracking code workflow, ensuring that traffic from these regions is not recorded.
- Exclude Content: Add a CSS selector to identify elements on the page (HTML) that should be excluded from tracking. Any content within the selected element will not appear in recordings or be stored.
- Masked Fields: Add a name or CSS selector for an input field to ensure user input will always be masked (‘*’ characters). You can add a name or CSS selector to identify the input fields you wish to mask. Use the data-iclaim-mask attribute in your HTML form to apply the same behavior to specific input fields. For example: <input name=’card_numer’ data-iclaim-mask=’1’>