My Tickets
The My Tickets section is a personal support dashboard that allows users to:
- View a list of all their submitted tickets.
- Check the current status of each ticket (e.g., Open, In Progress, Resolved).
- Access detailed updates and responses from the support team.
- Add comments or provide additional information directly within the ticket.
Each ticket maintains a complete record of the conversation and actions taken, making it easy for users to follow progress and refer back to past issues if needed.
Why use it?
- Get assistance on a variety of topics, including payments, records, recordings, account configuration, API documentation, technical issues, and more.
- Monitor the status and progress of your support tickets in real time.
- Prioritize critical issues by assigning importance levels.
- Maintain a detailed history of all support conversations for transparency and future reference.
To view the list of available tickets or create a new one, navigate to the Help > My Tickets section.

You can group the tickets in the list by using the following filters:
- Date: Select the date range for the ticker creation.
- ID: Enter the unique identification number of the ticket.
- Author: Select the user who has created the ticket (author).
- Status: Select the ongoing status of the ticket (New, In Progress, Resolved, Closed).
- Priority: Select the priority level of the ticket (Low, Medium, High).
- Category: Select the category to which the ticket belongs (Other, Payments, Recordings, Account Configuration, API Documentation).
The list of available tickets contains the following information:
- ID: The unique identification number of the ticket.
- Subject: The subject of the issue or question described in the ticket.
- Priority: The ongoing level of the priority.
- Category: The name of the category that is attached to the ticket.
- Status: The ongoing status of the ticket.
- Author: The name of the user who created the ticket.
- Date: The date and time of the ticket creation.
- Last Updated: The date and time of the last update received on the ticket.
- Last Updated By: The name of the user who made the last update to the ticket.
- Assigned To: The name of the manager to whom the ticket is assigned.
- Messages: The number of messages left in the ticket thread.
To create a new ticket, click the New Ticket button, fill in the subject of the ticket, select the related category of the issue or question, set up the priority level, add the corresponding description for the ticket, and attach the file that gives more details on the described question. Click the Submit button to complete the ticket’s creation process.

As soon as the ticket is created, you will be redirected to the Ticket section. You can view the name of the ticket, the name of the ticket owner, the description of the ticket, and the attached files.
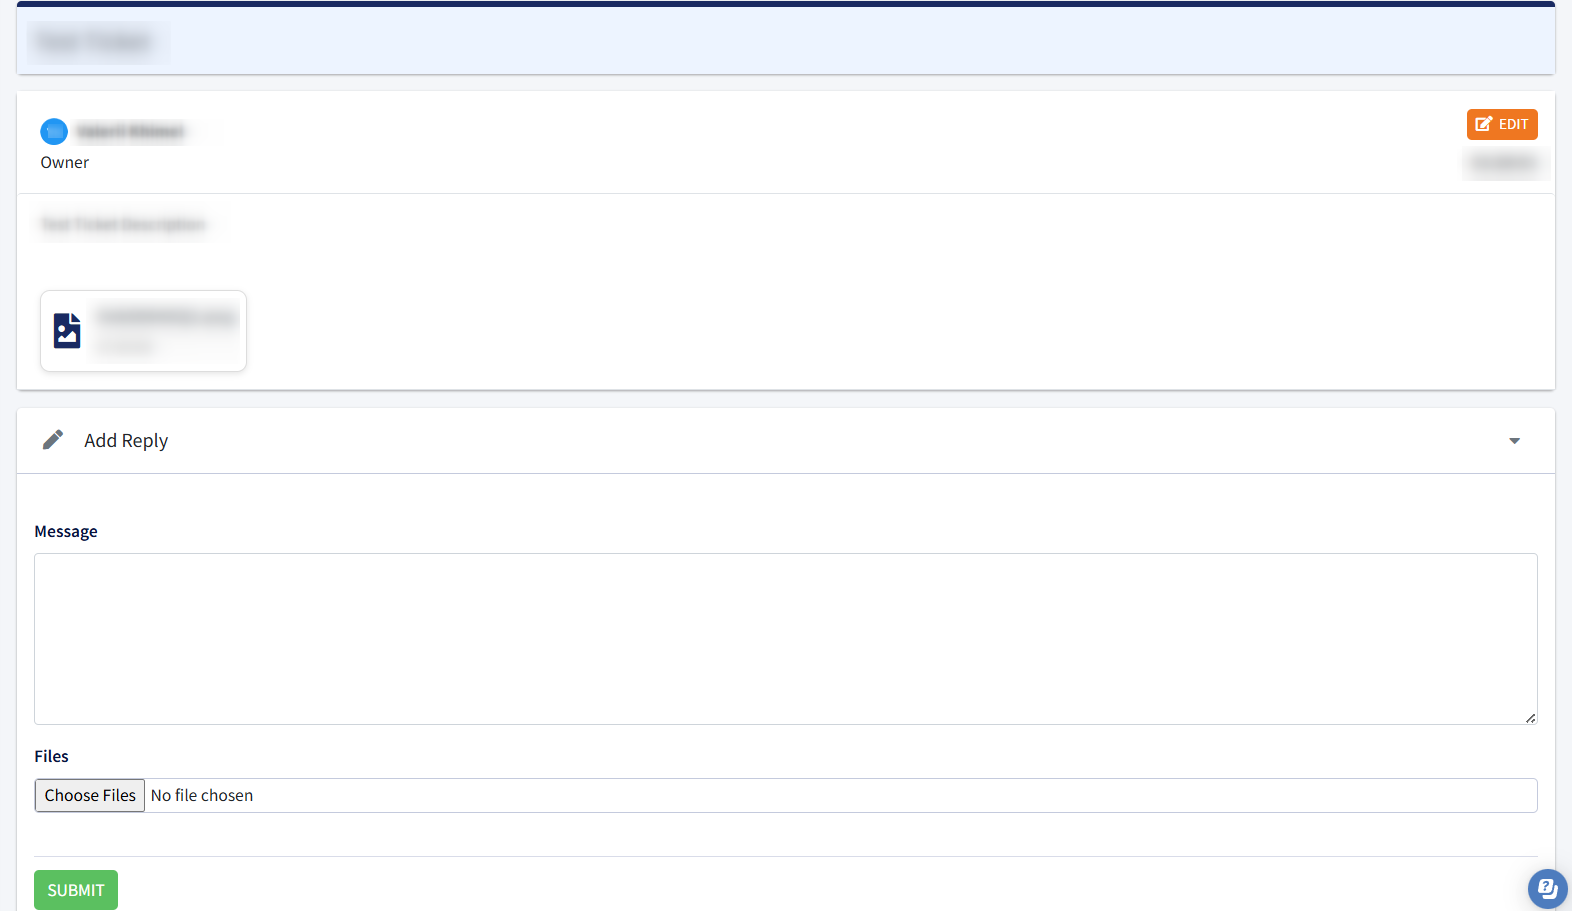
To edit the description and manage attachments of the message in the ticket, click the Edit button. Change the corresponding description and attachments in the Edit pop-up window and click the Edit button to complete the action.

Additionally, the date and time of the applied changes will be displayed in the Edited field.

To send a reply on the existing ticket, select the Add Reply block, enter the reply message along with the file attachment if needed, and click the Submit button to complete the process.
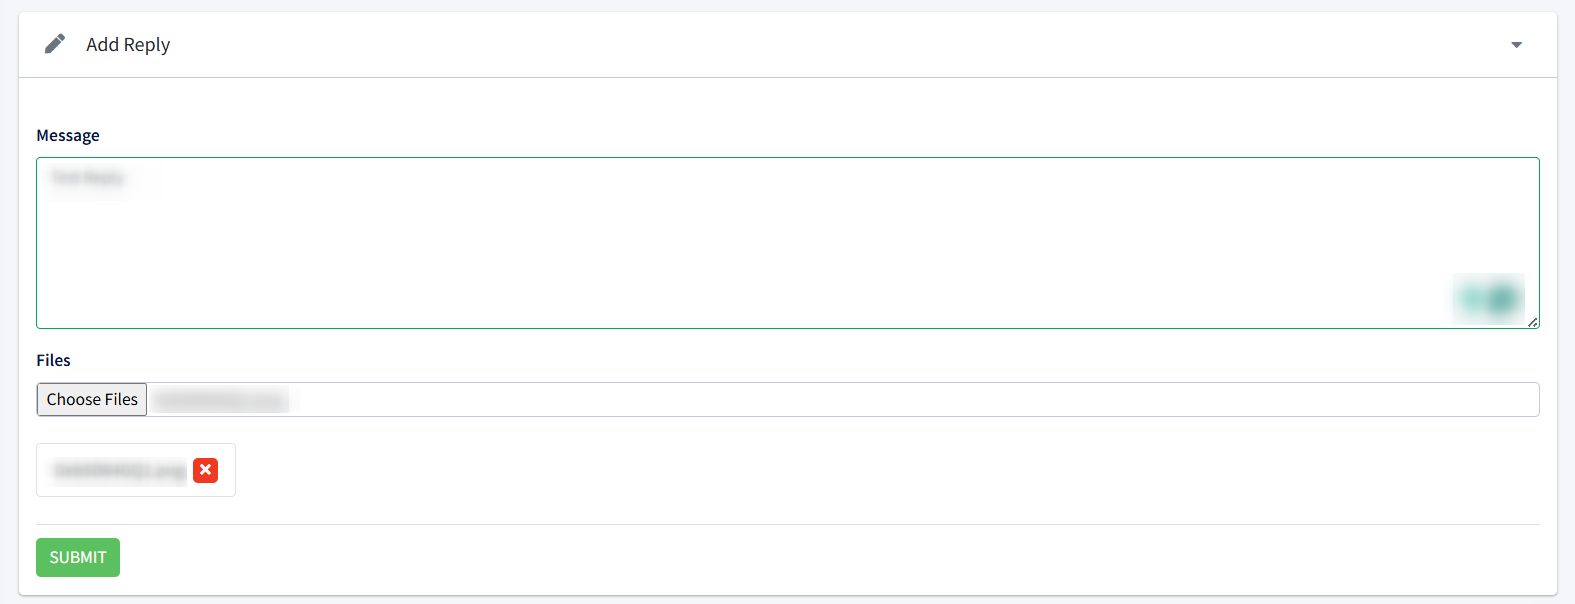
As soon as the reply submission is completed, the corresponding message will appear below in a thread.

To manage the existing ticket: view the ongoing information, send a reply, etc., select the corresponding ticket from the list, click the link with the ticket ID in the ID column, or click the Thread button in the Actions column.